
Introduction
The themes and projects introduced in class this semester marked a sudden and definite shift from the projects pursued last semester. Instead of one final project encompassing all the concepts learnt during the semester, this semester's final outcomes were mainly divided under four workshops - 'Screens', 'Coding', 'Making', and 'Play'. Each workshop lasted 2 weeks, and the final outcomes were 4 separate projects.
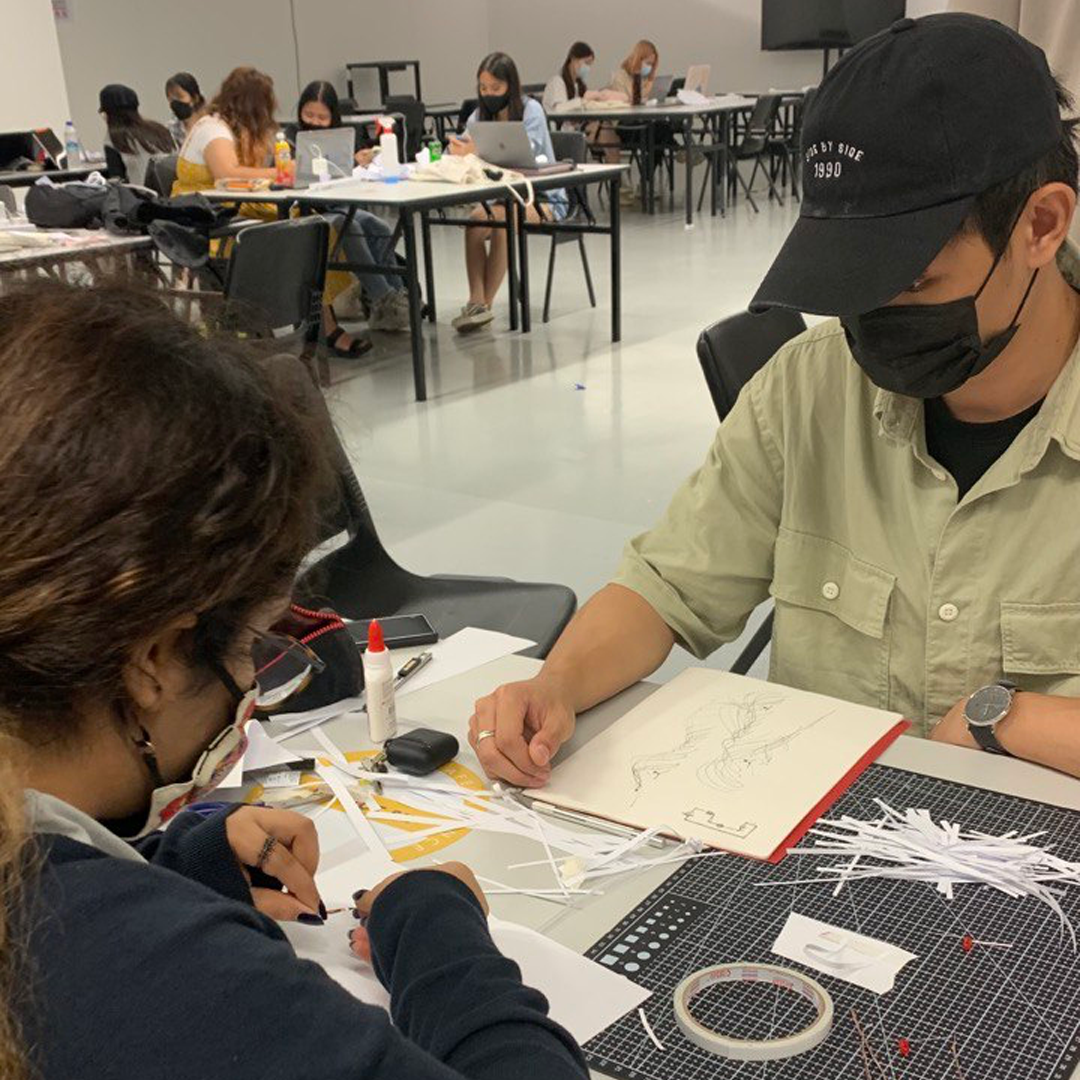
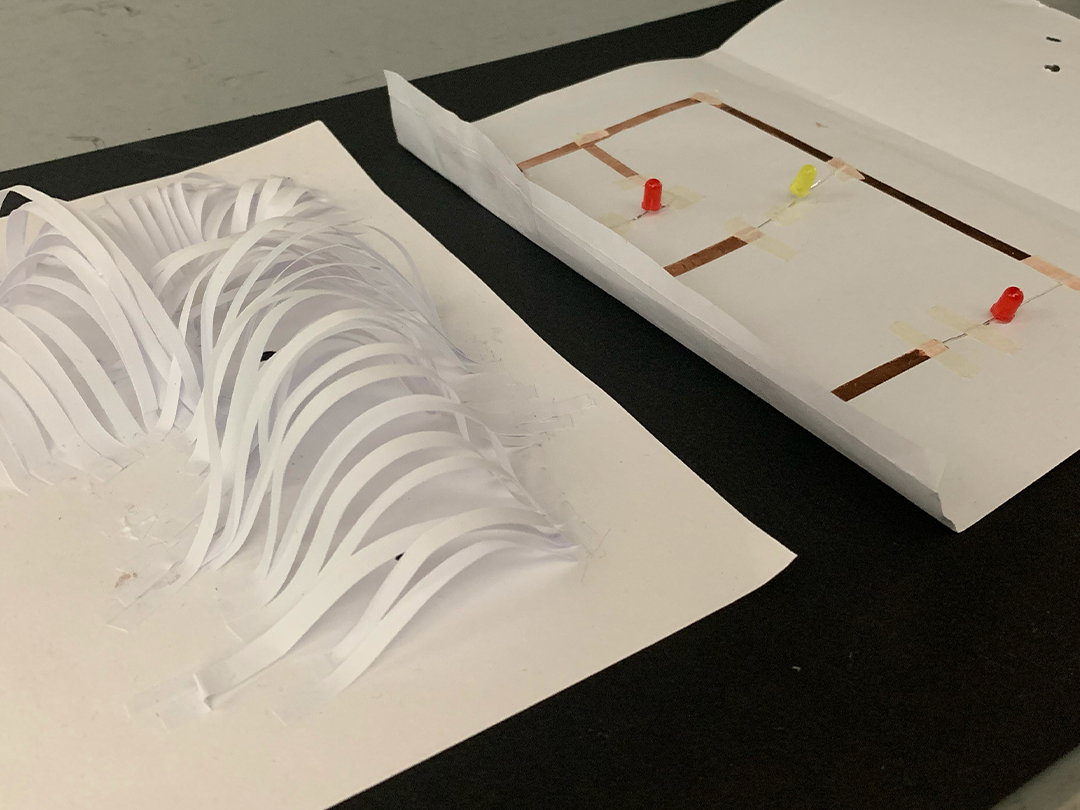
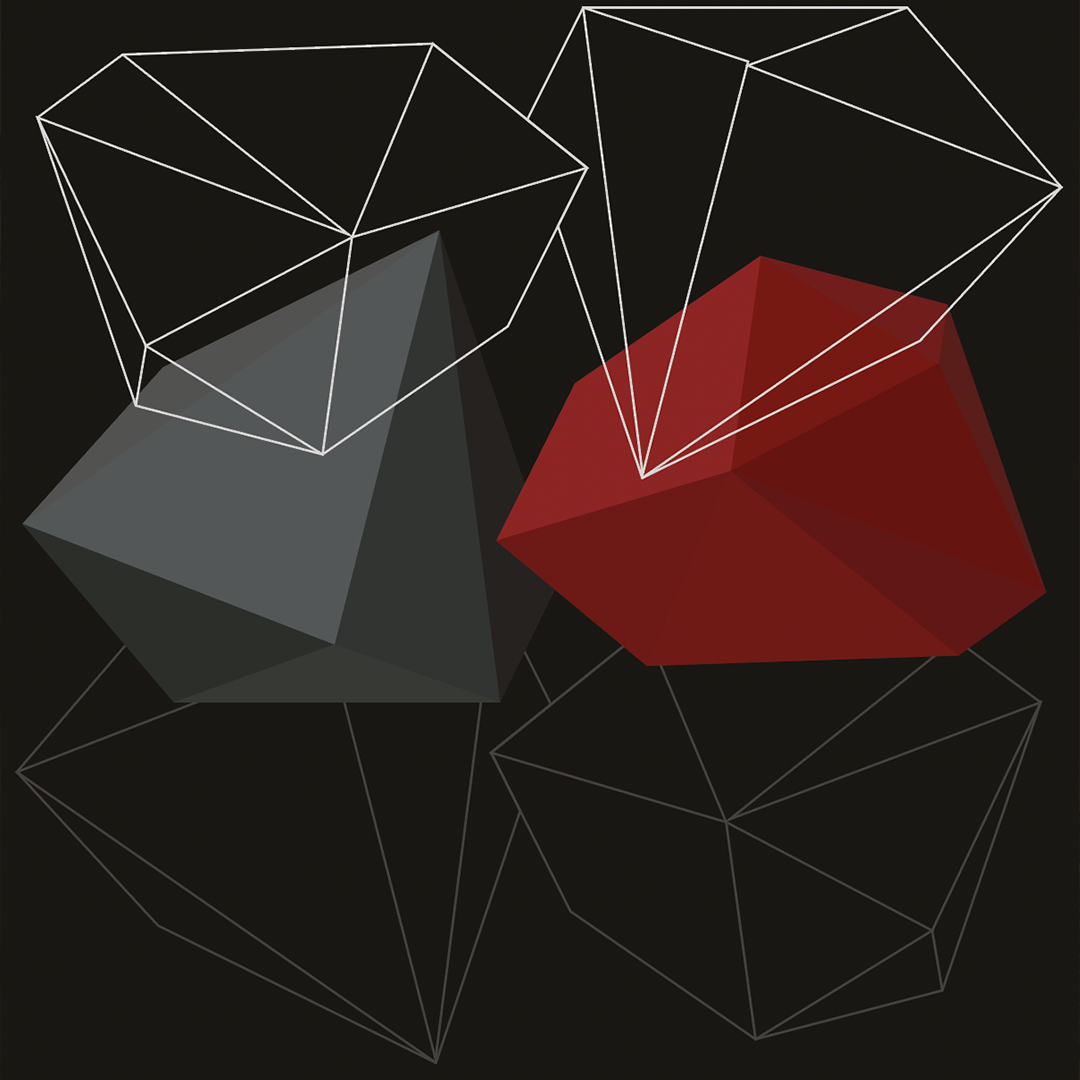
'Screens' explored projection mapping and its applications. In 'Coding' we could choose one of many projects to work on as part of a group, we chose to work with the AxiDraw machine. In 'Making' we explored coding polygon hulls, the 3D modelling software Blender, and physically constructing the coded hull out of paper. Finally, in 'Play', we constructed an electrical circuit that lit up multiple small LED bulbs, a paper facade for it and finally connected it to an Arduino board that would allow the addition of a switch to the circuit.
Workshops 1–4
Over the semester I participated in 4 different workshops covering topics such as Creative Coding, Projection Mapping, Making, and Physical Computing. Here you will find some of the process documentation and deliverables that were created in small teams of up to 3 people or individually.
1 Coding
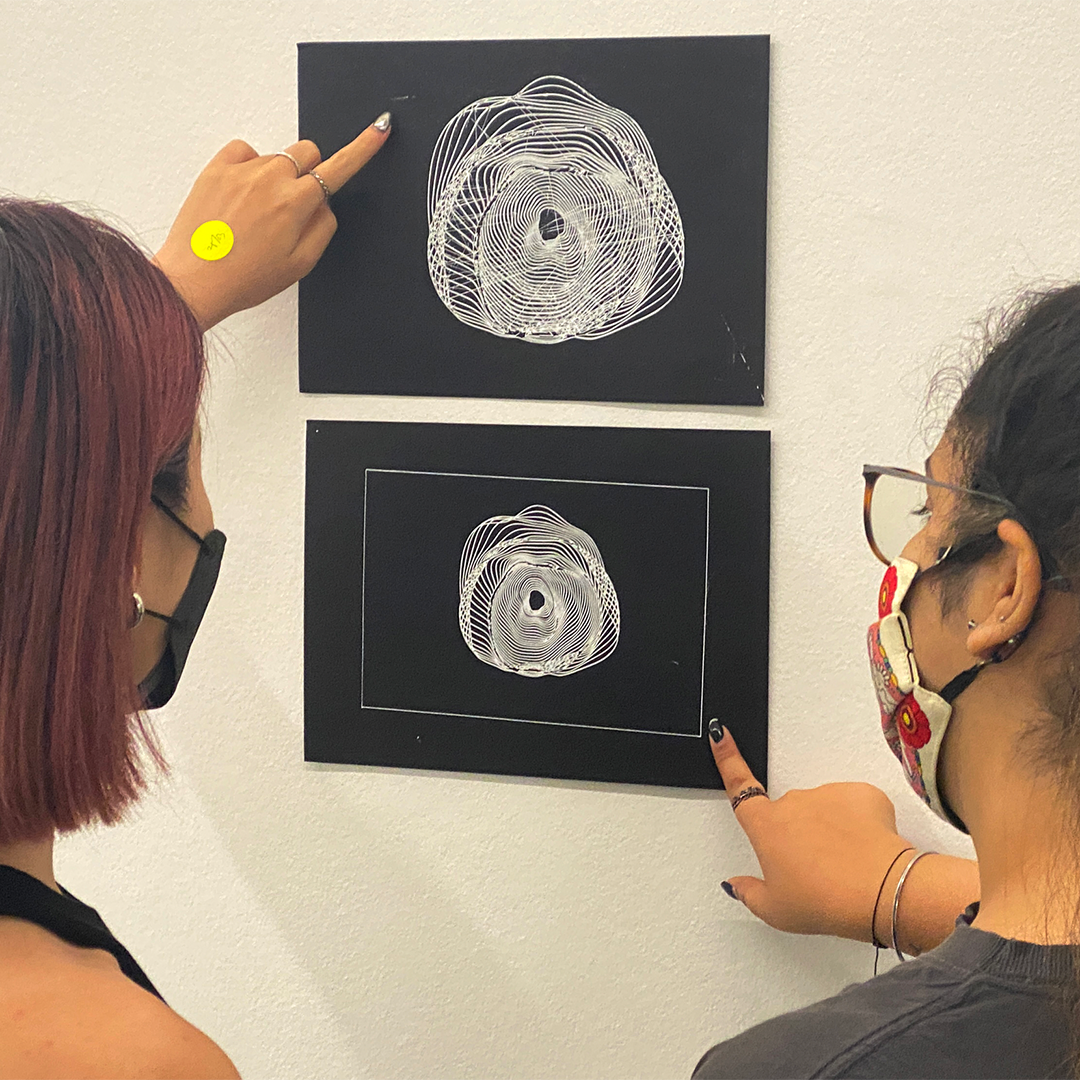
AxiDraw
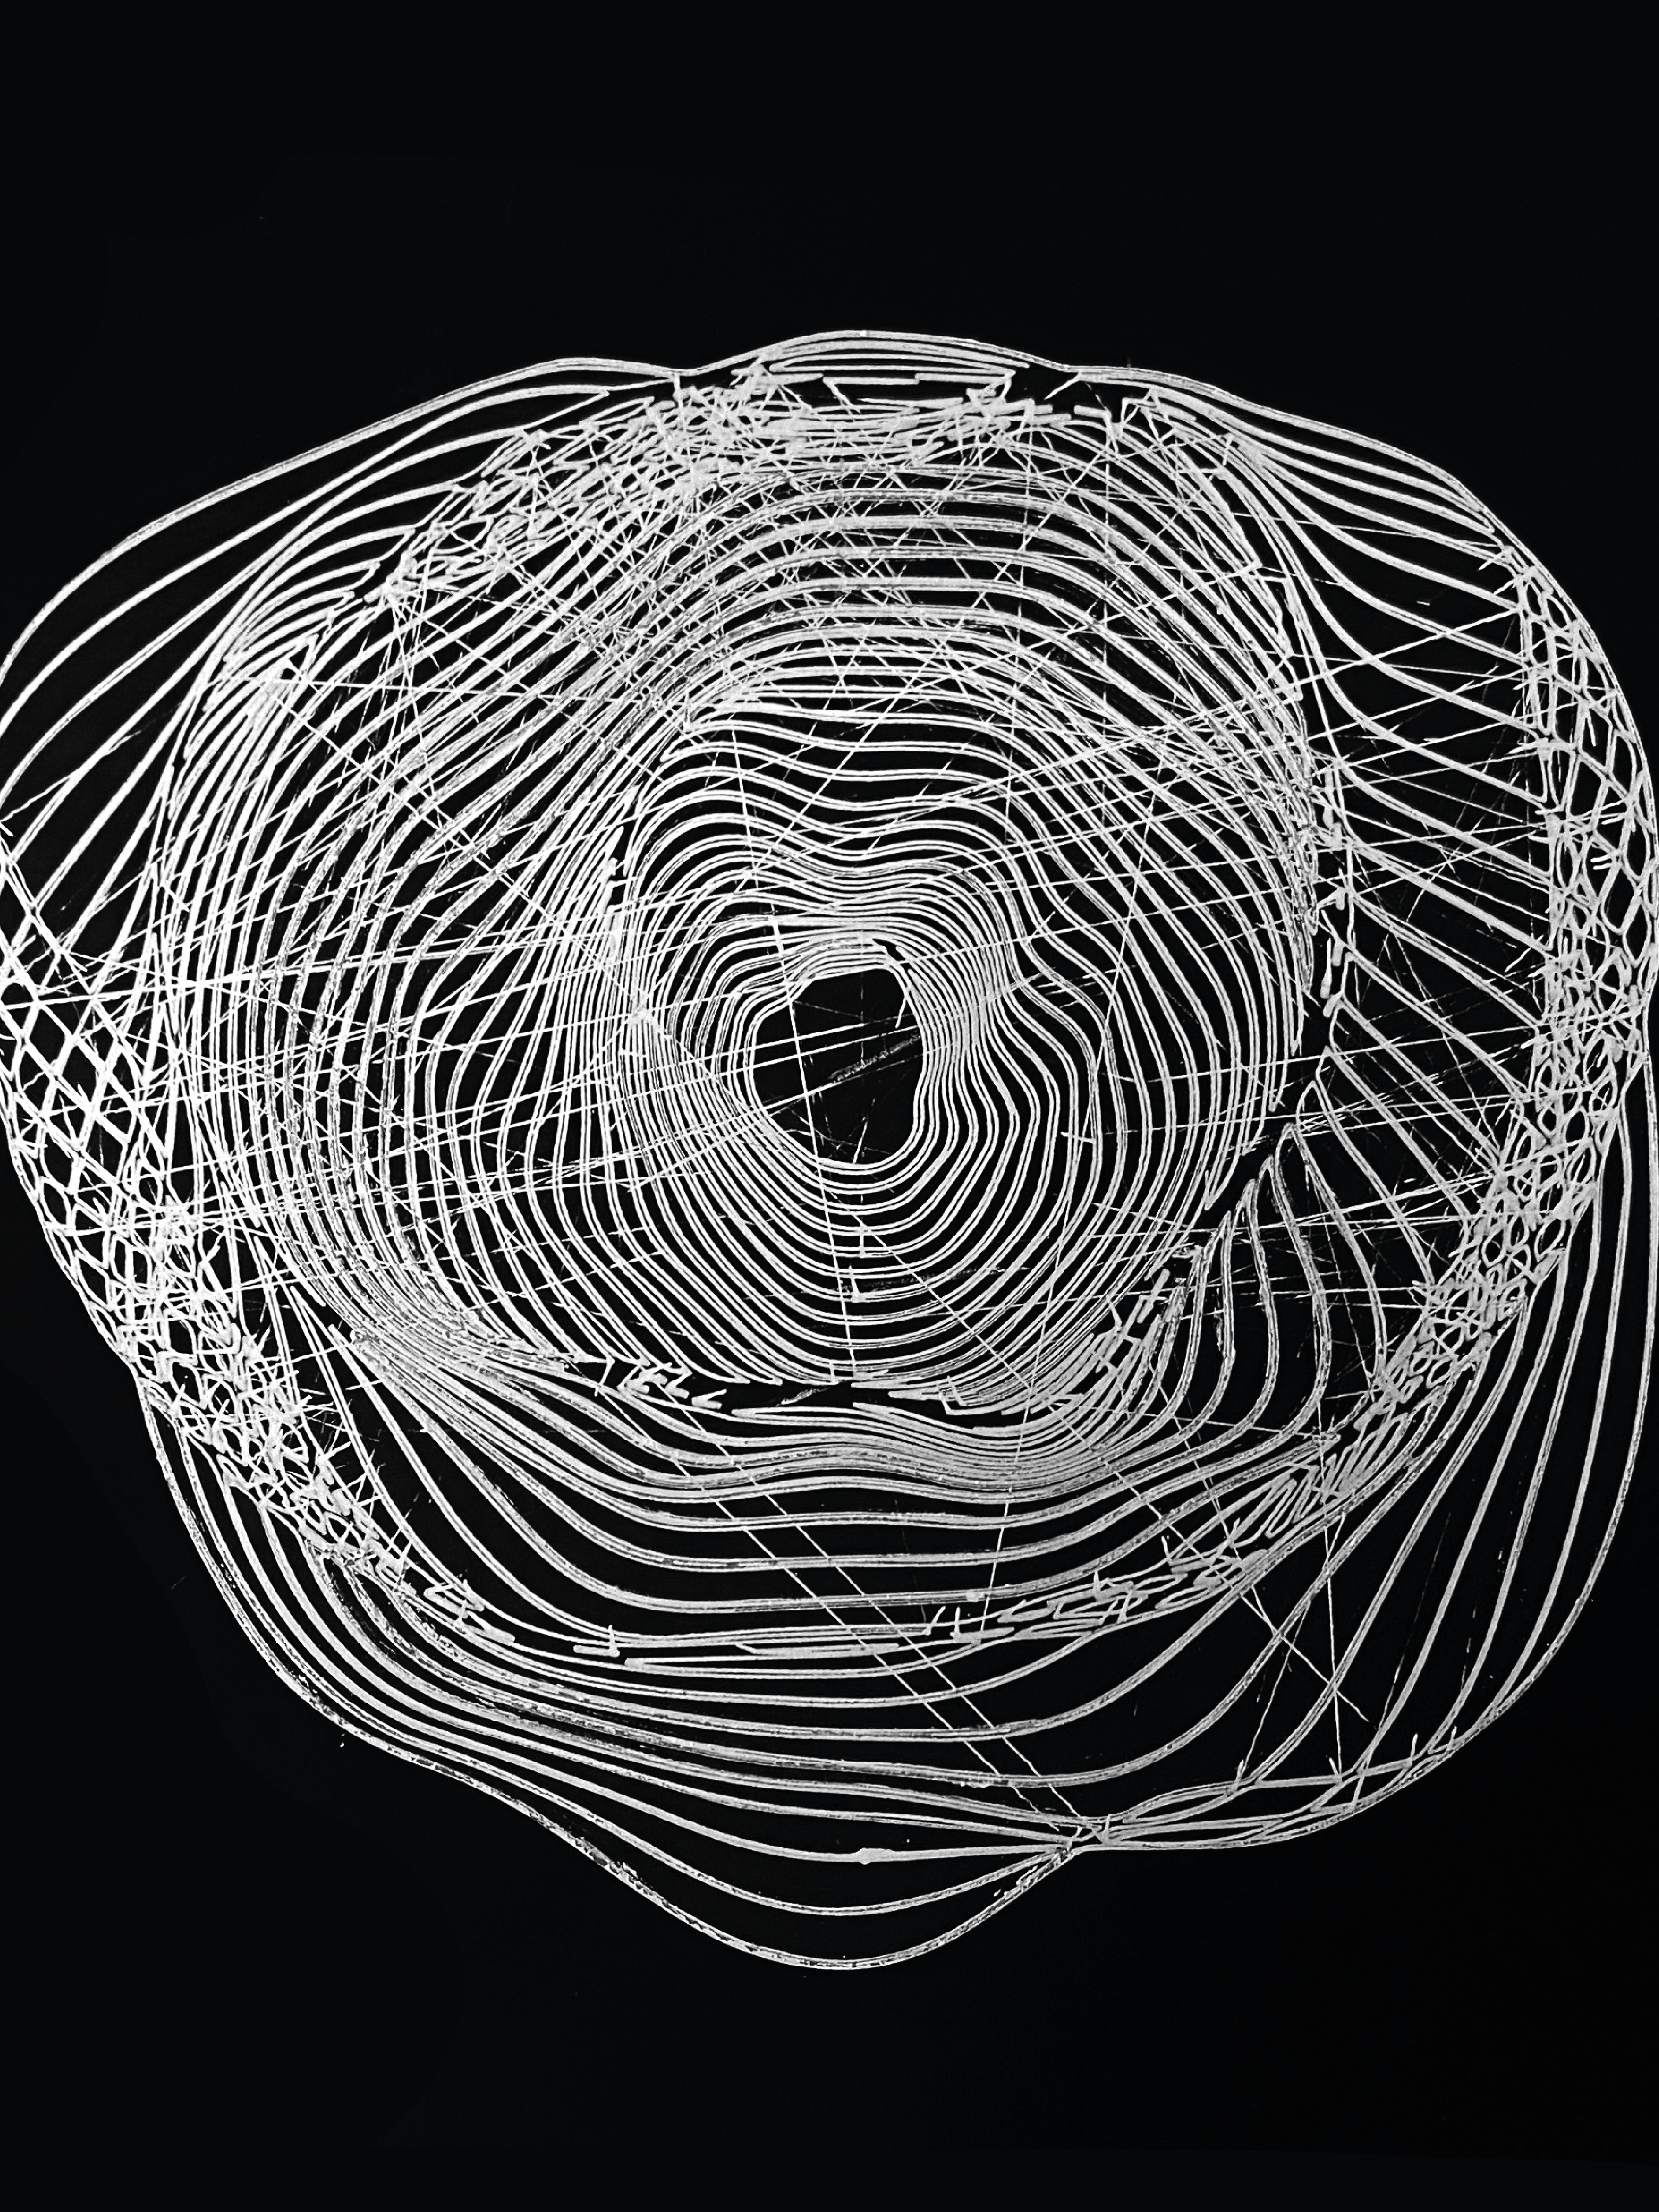
For this workshop, we could choose from multiple projects that were categorised on a spectrum of no coding at all > a lot of coding. Our group chose AxiDraw, which falls somewhere in between the two ends. The AxiDraw is a simple pen plotter that is capable of writing and drawing on most flat surfaces. It has an adjustable clamp that can hold drawing instruments up to 16mm in diameter. Its unique design features a writing head that extends beyond the machine, making it possible to draw on objects bigger than the machine itself.
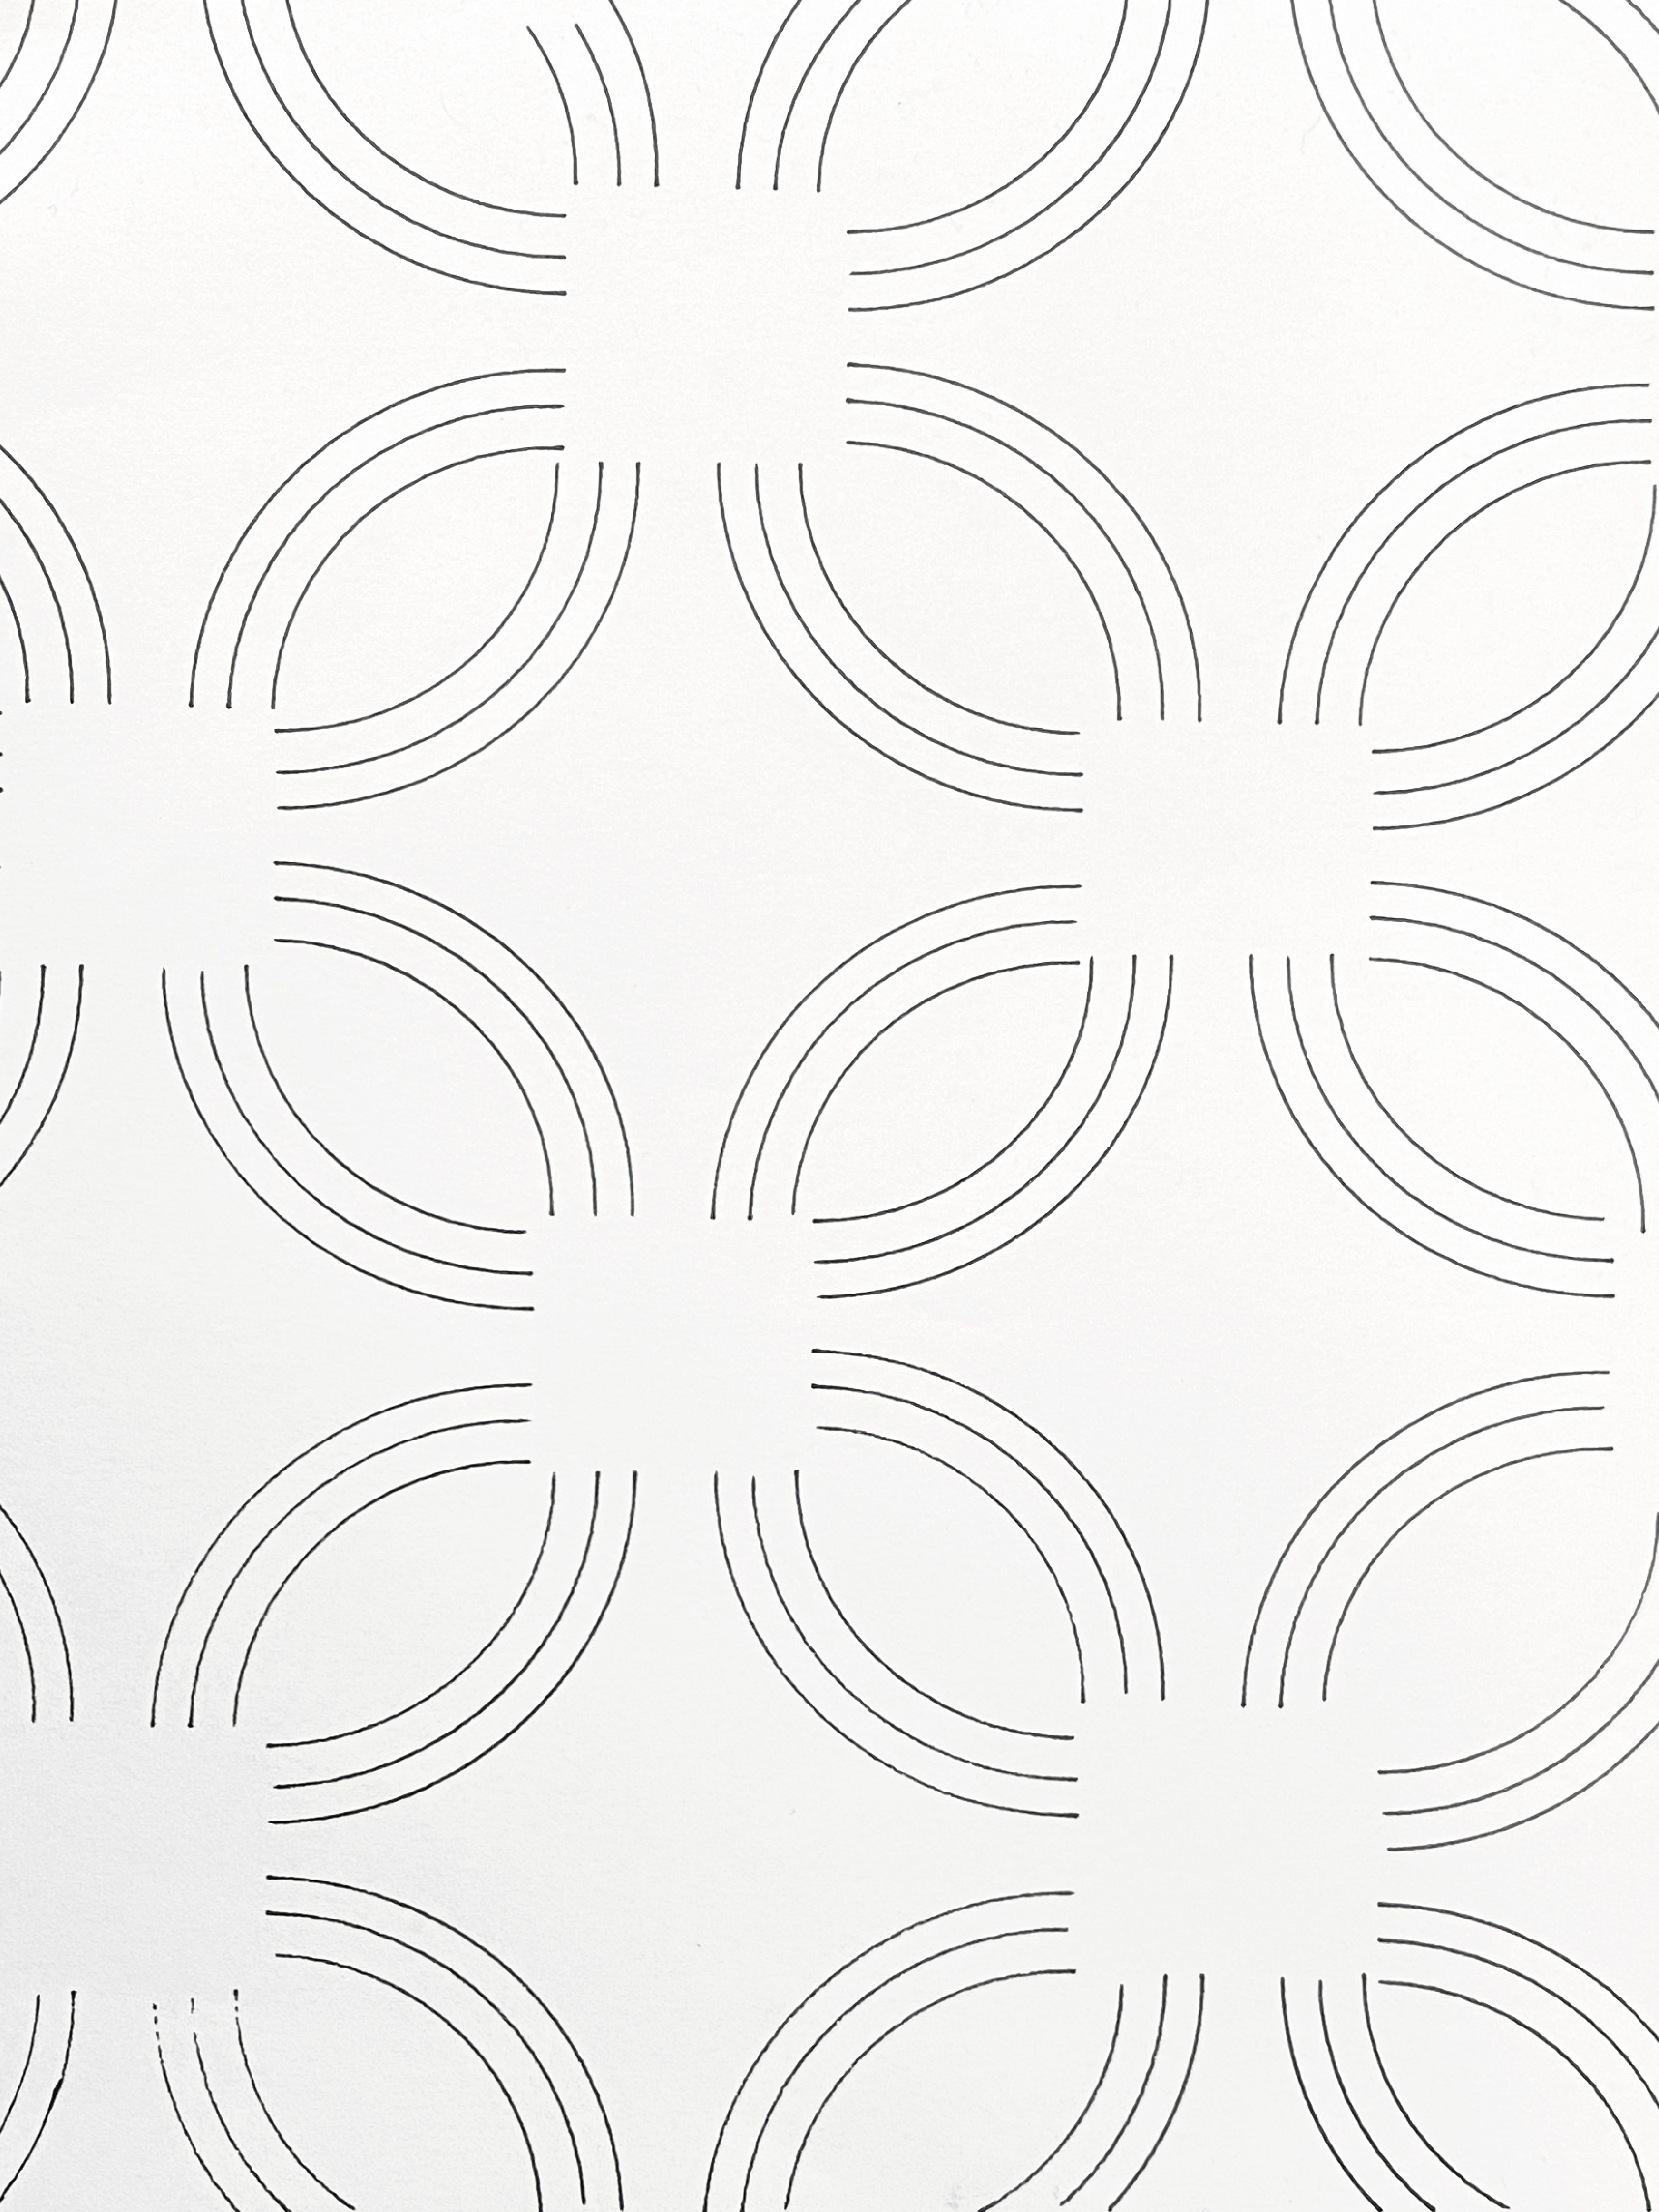
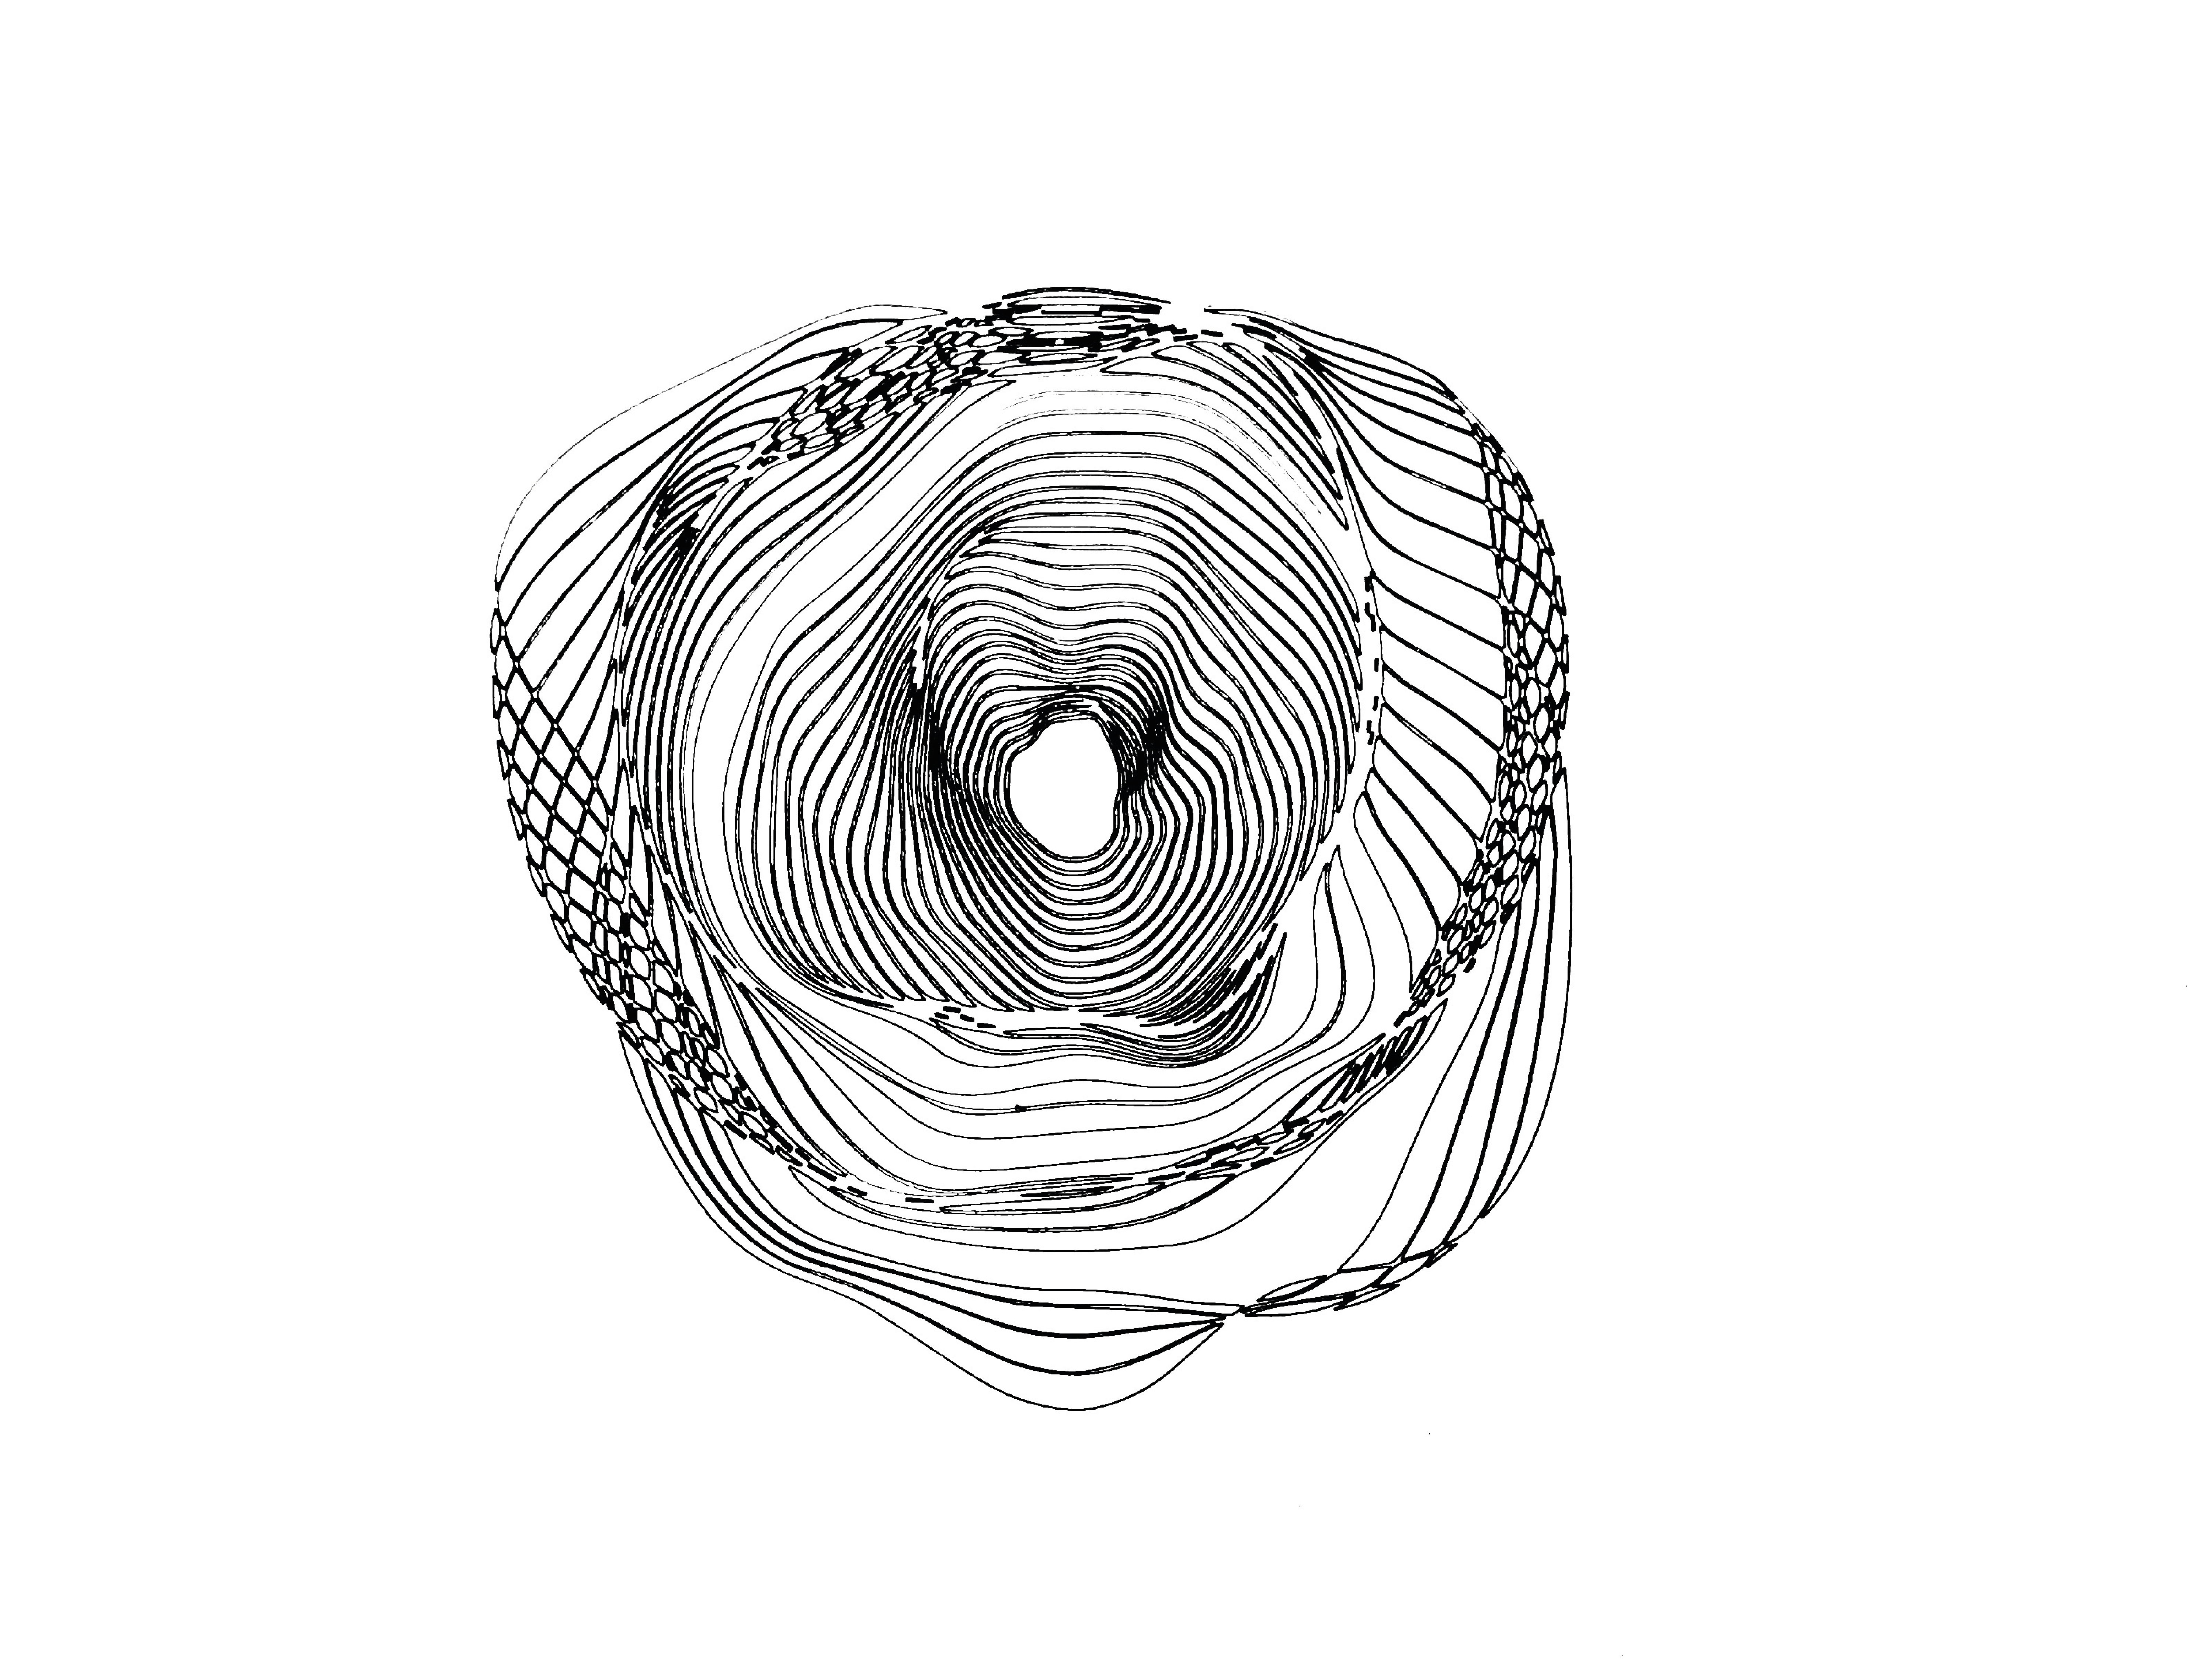
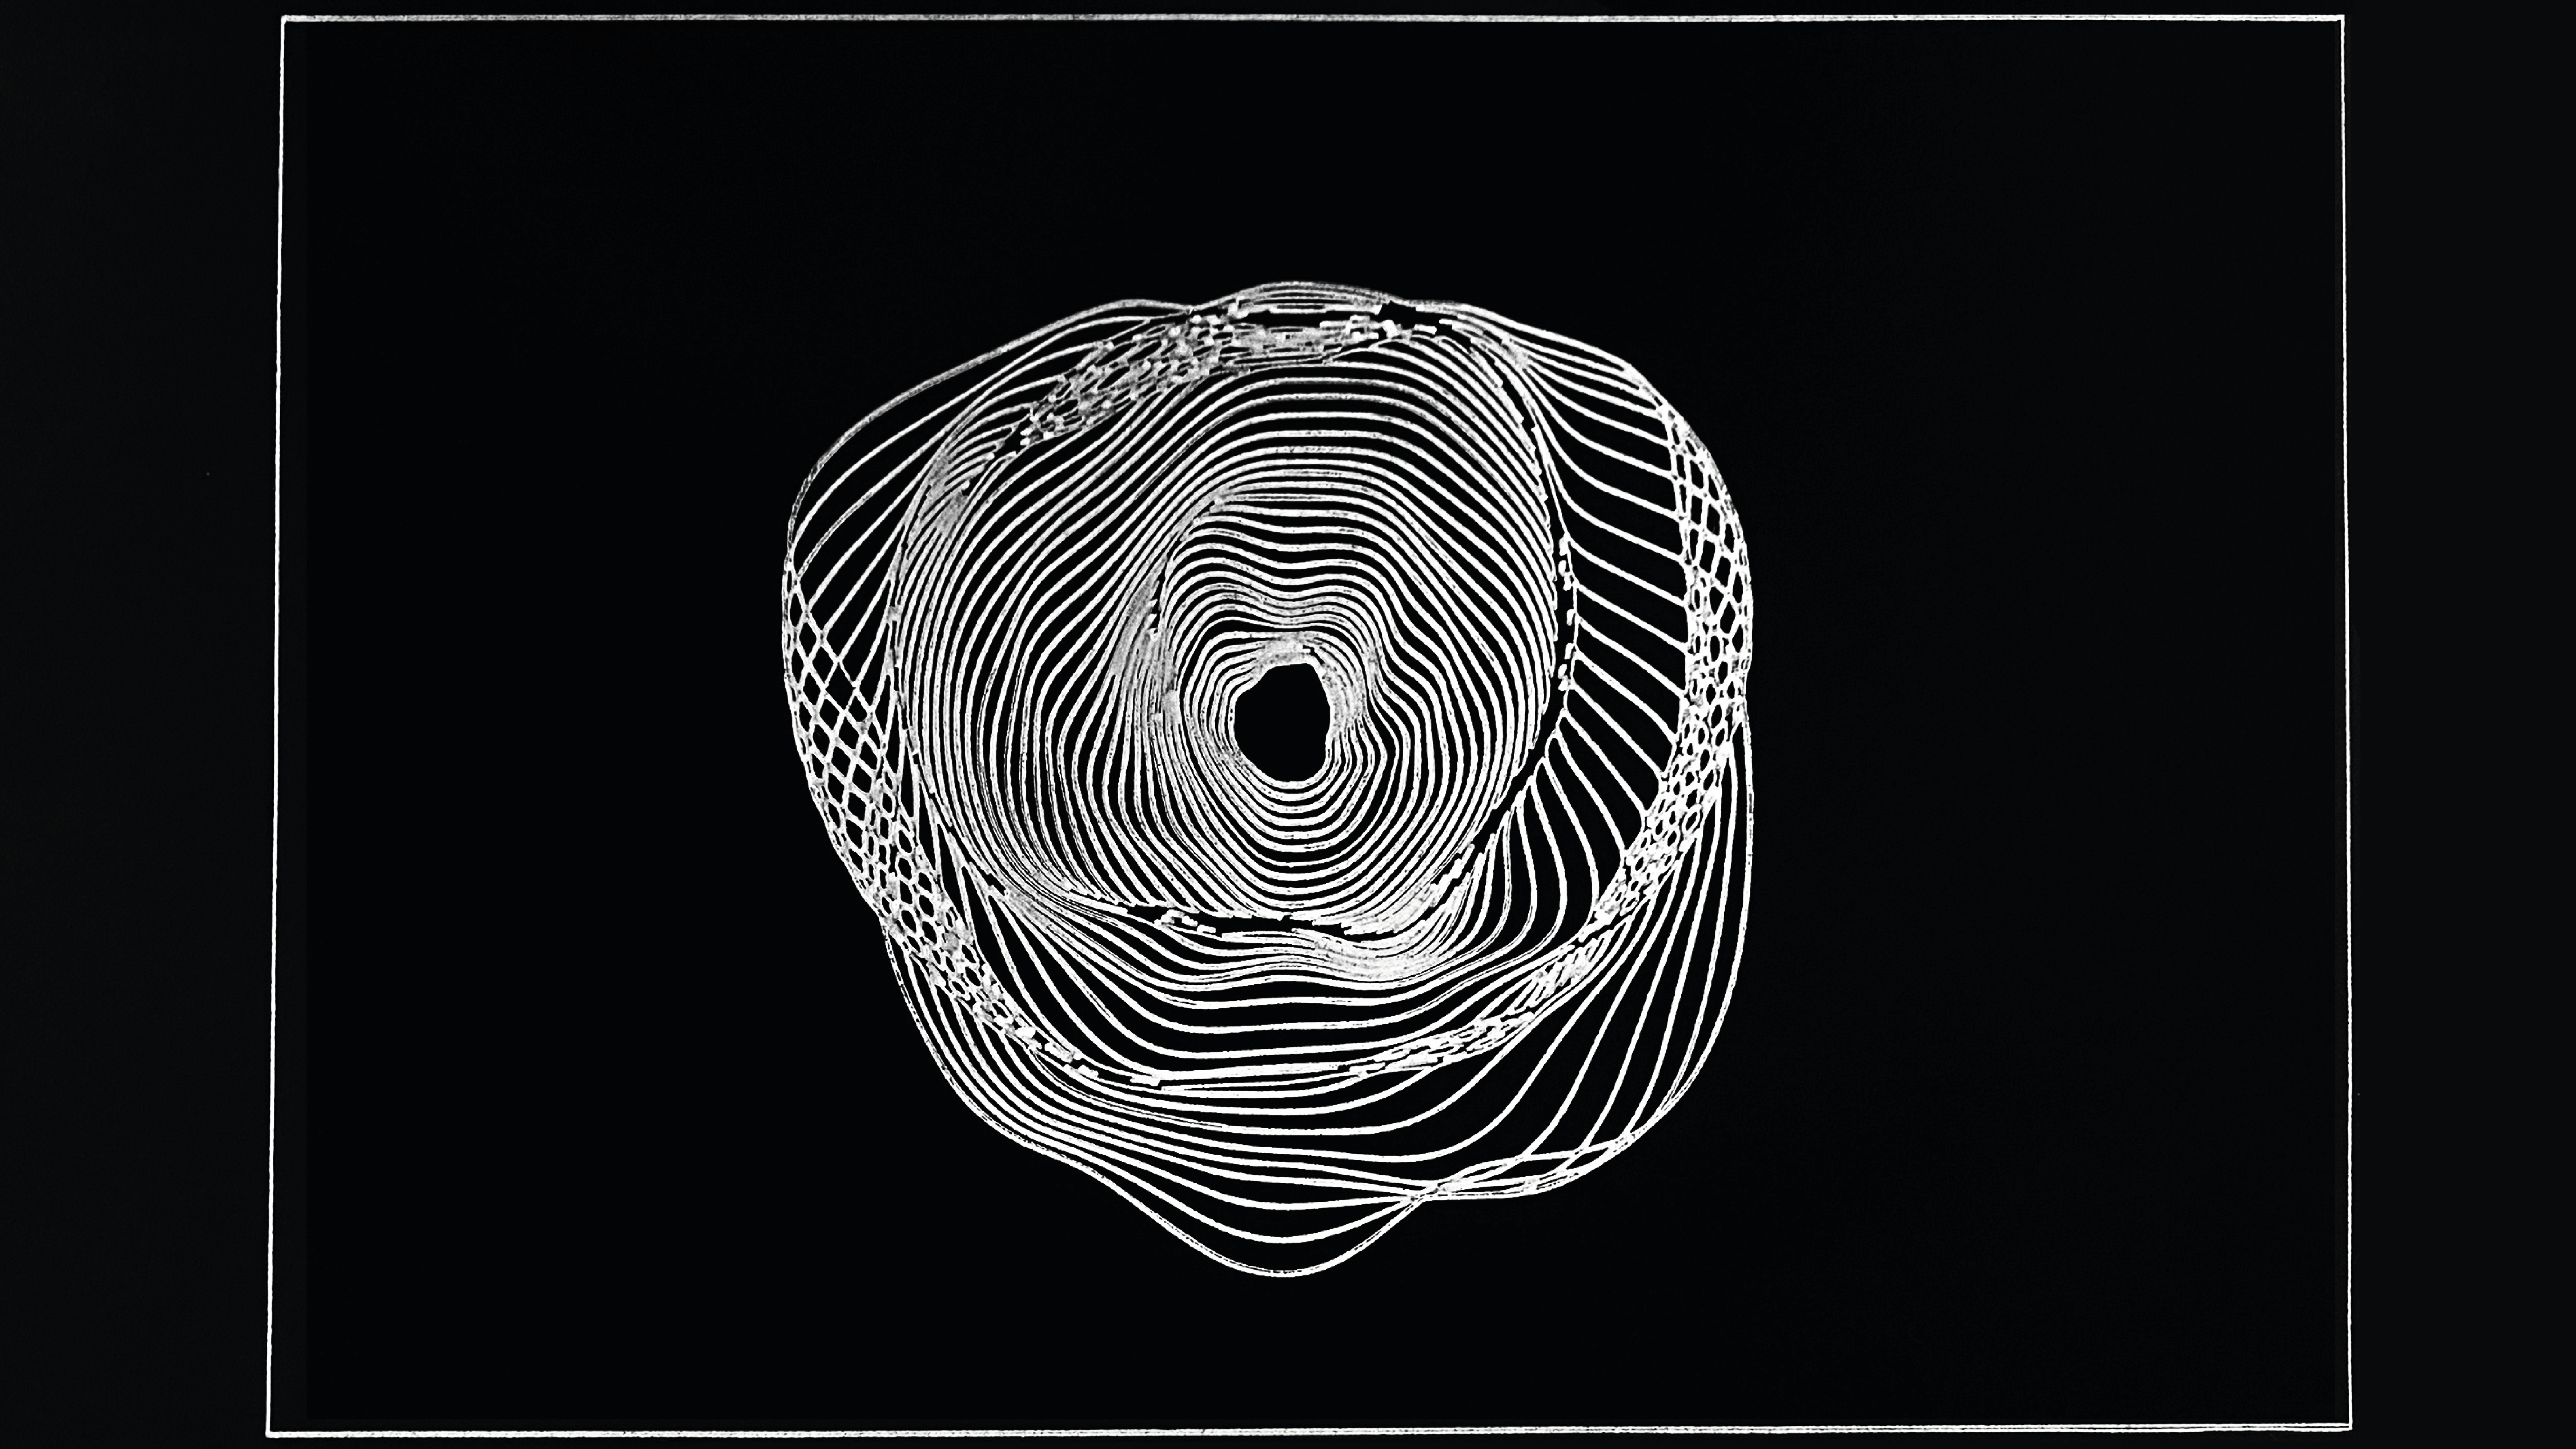
We were required to code simple images that we could reproduce with the AxiDraw after exporting them in SVG format. We had a bit of a trial and error run with the images as all 3 of us were doing work independently for a bit and overestimated how fast the AxiDraw can draw. As a group, we ran into a few issues trying to decide the image we wanted to finally convert to SVG format and use for the final outcome, however after overcoming that minor issue, things went on pretty smoothly.
All in all, using and learning about the AxiDraw was very fascinating, and our group created two images- the first black ink on white paper, and the final, white ink on black paper.
2 Screens
Projection Mapping
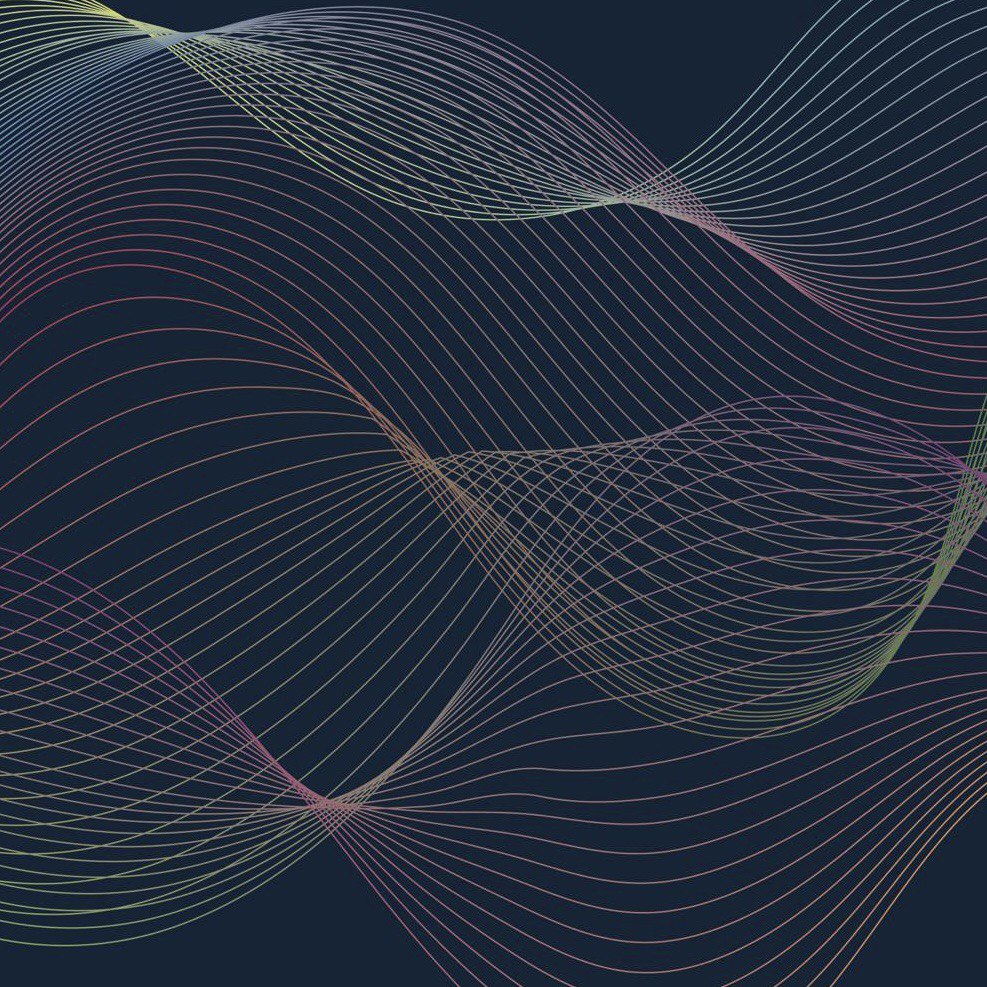
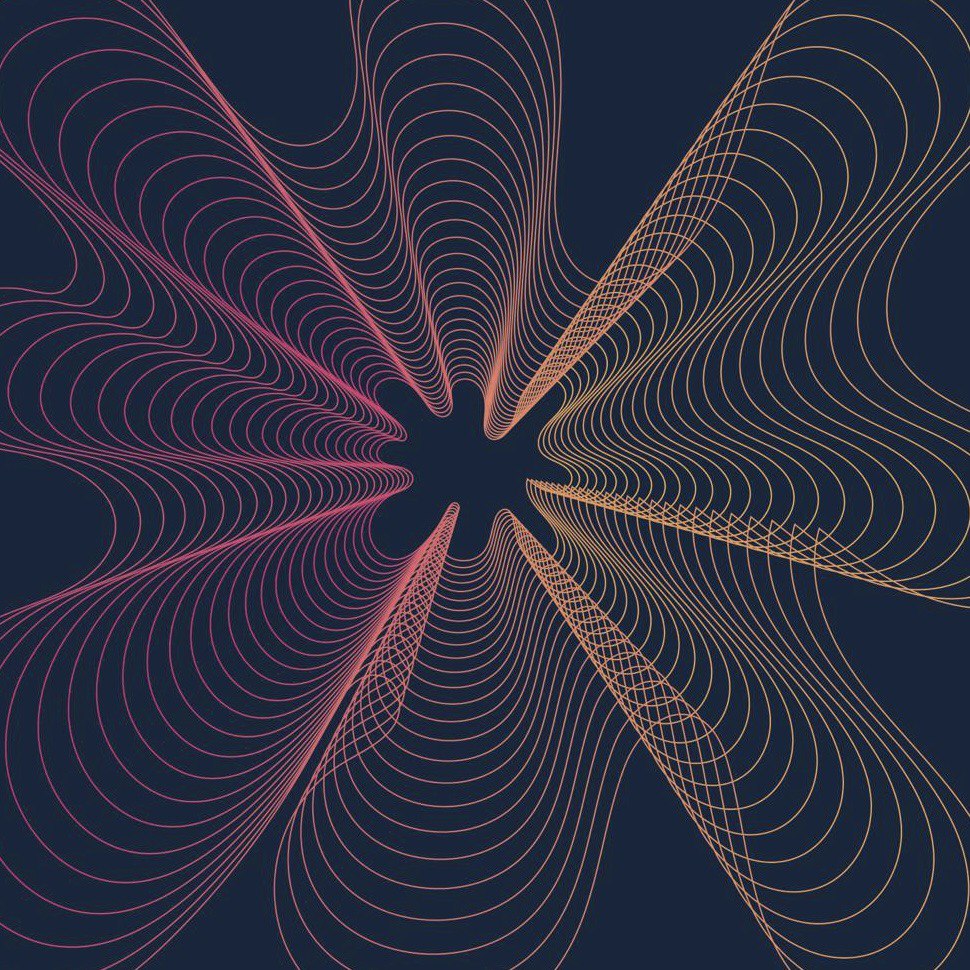
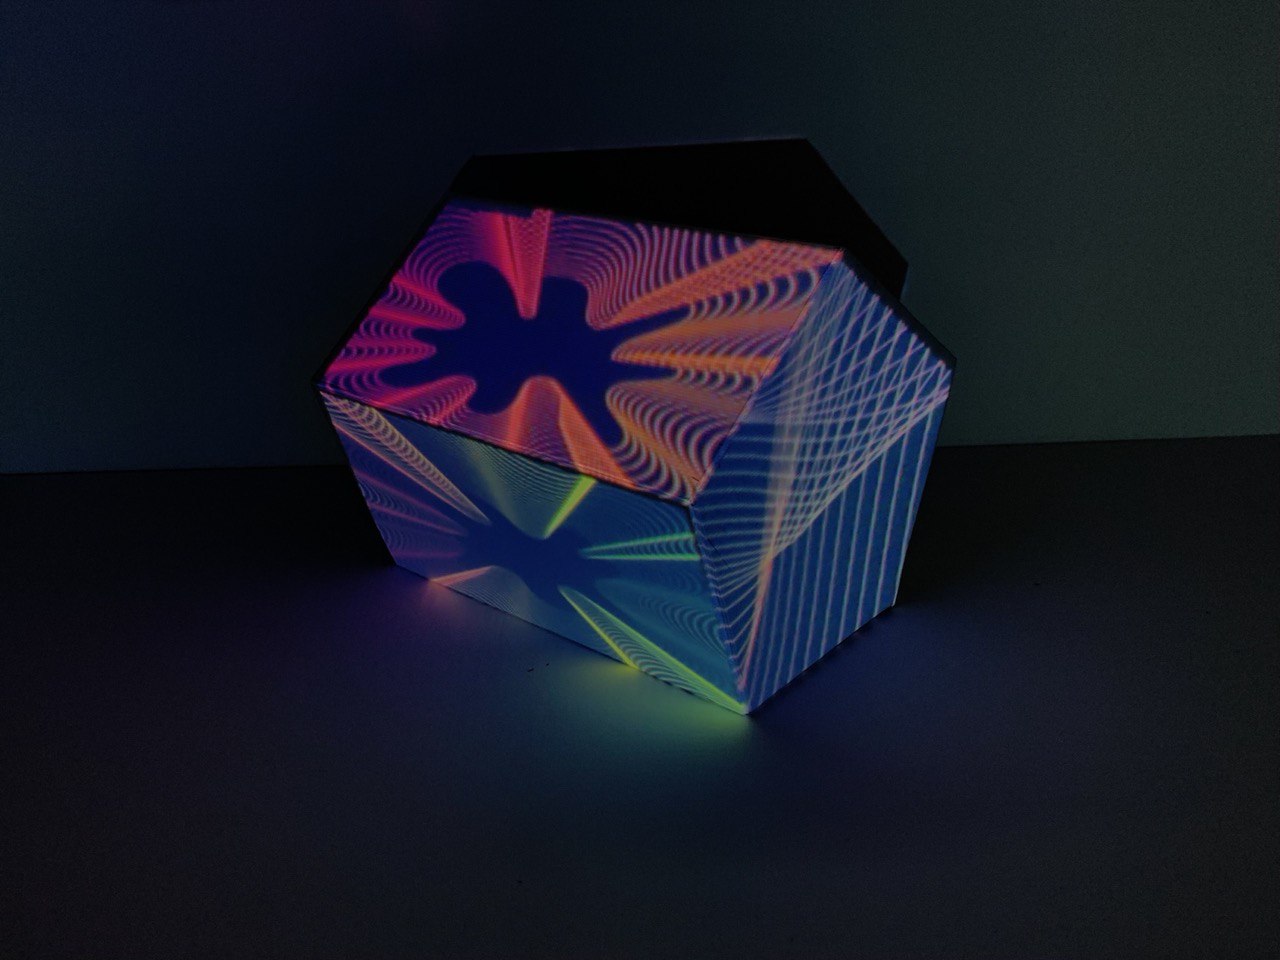
We created a 3d pentagon shape as our structure to map our images on. We made the images on Illustrator. We wanted to explore lines and gradients to create interesting images on each visible surface of the shape. The actual process of mapping each image onto each individual surface was very fun! We ran into some technical difficulties re the mini projector Joanne gave us, and ended up with a giant full sized projector that gave us a really bright and focused projection! The only issue is that our graphic didn't render in properly so the final projected outcome looked very pixelated, this makes the images look really low quality.
I feel like we wasted quite a bit of time on the construction of the shape, and that the card stock material used wasn’t necessary, we could’ve instead used a 200-250gsm paper instead. However, it worked out in the end; working with Tanishqa is easy, even though we have different design styles and wanted to try different things for the visuals, it was easy for us to come to a consensus and there weren’t any real problems. The entire process of coding in the images and calibrating the 3D mapping was very interesting, and exploring the possibilities of projection mapping in visual design communication was eye-opening.
3 Making
From Code to Thing
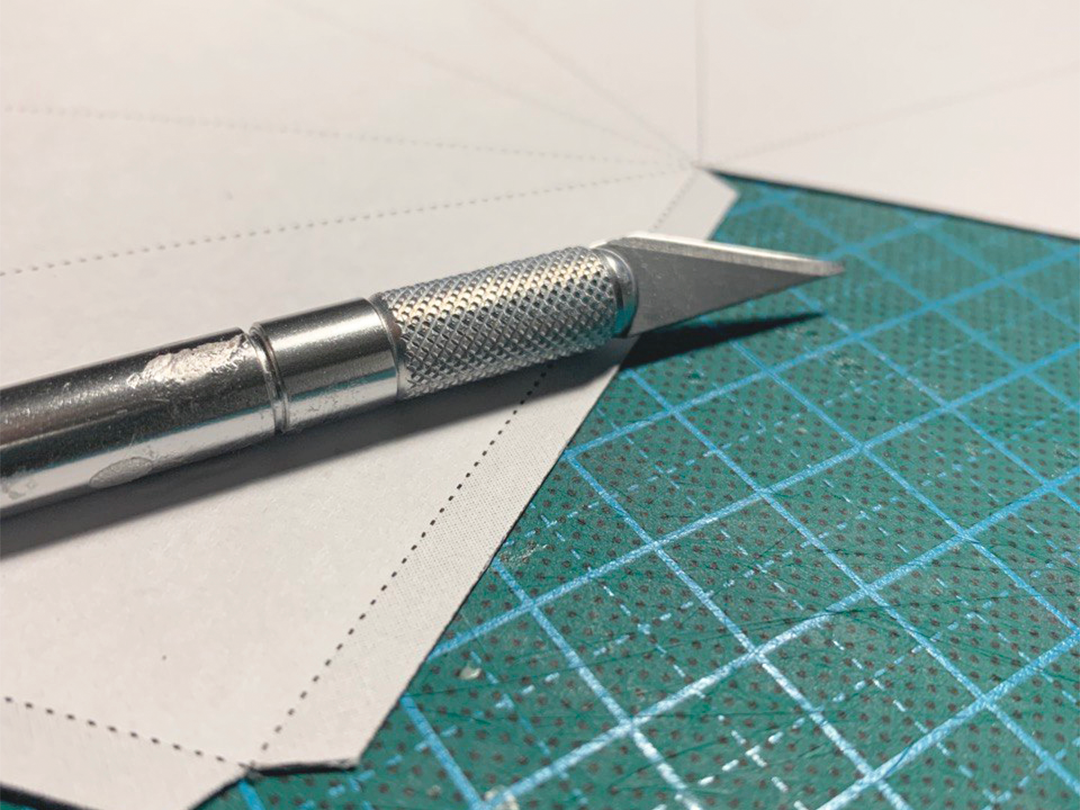
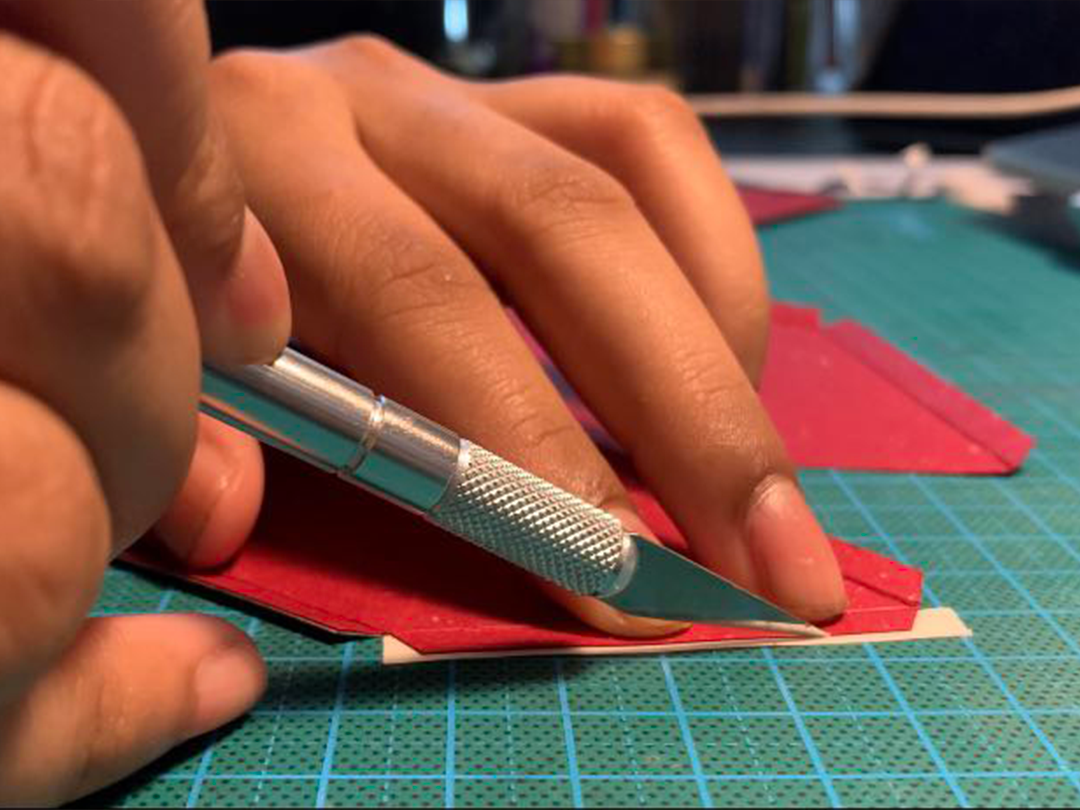
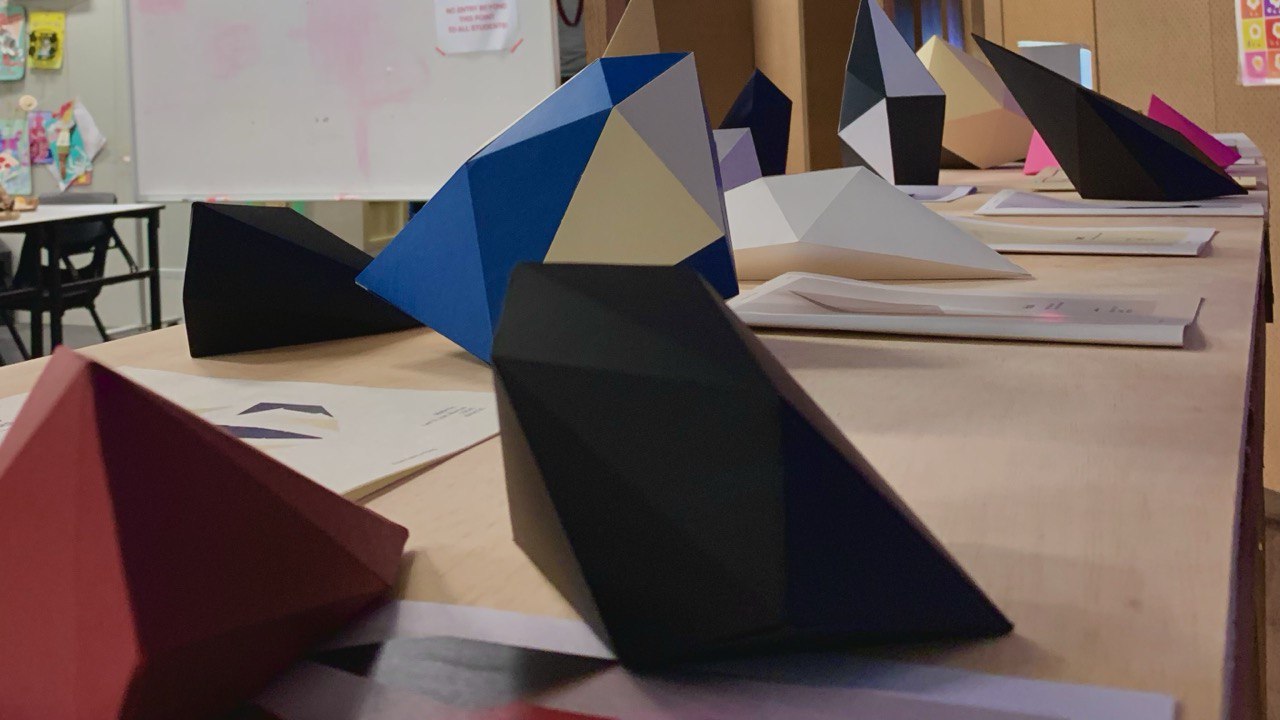
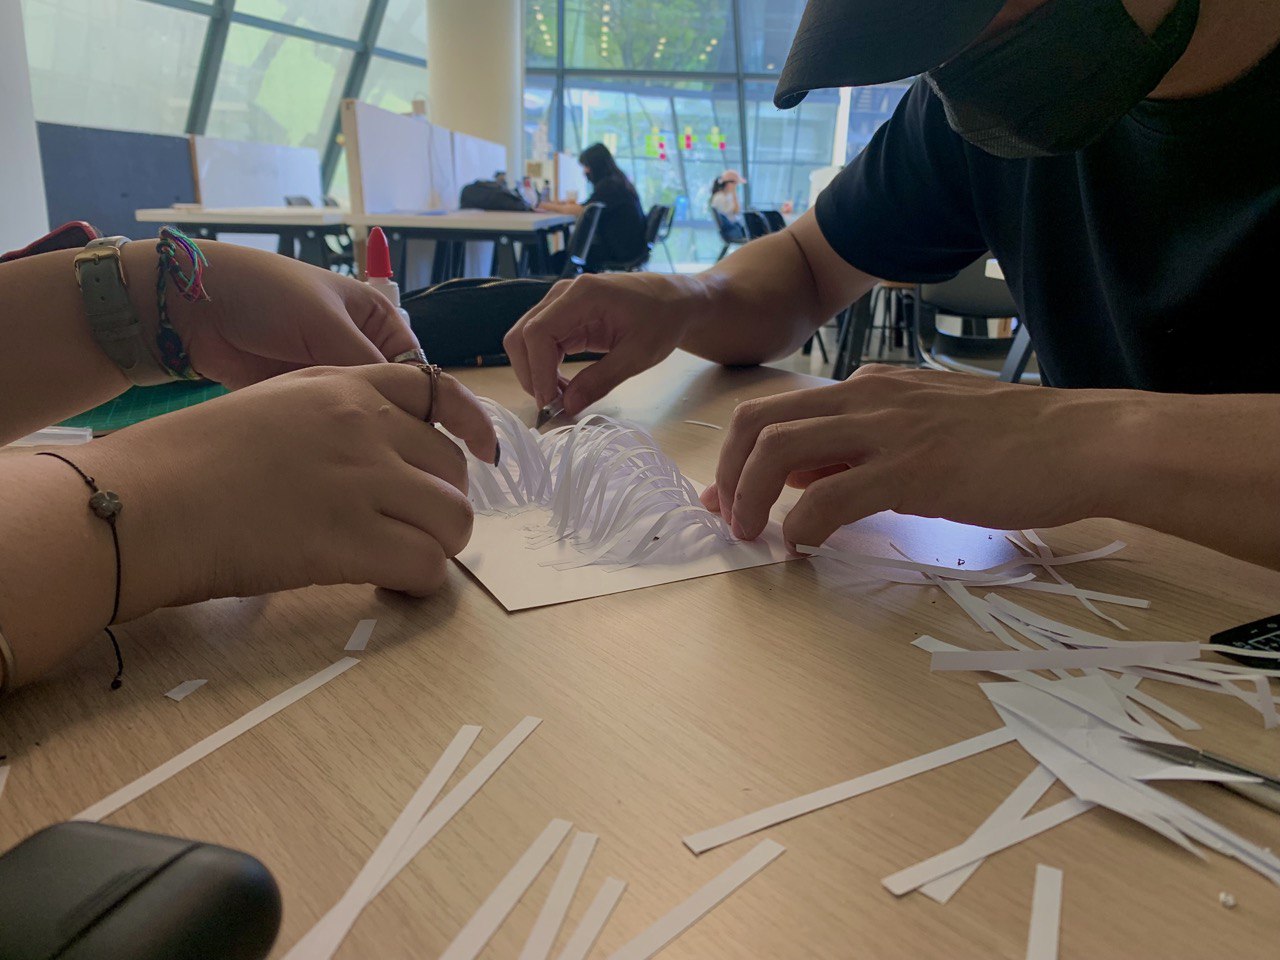
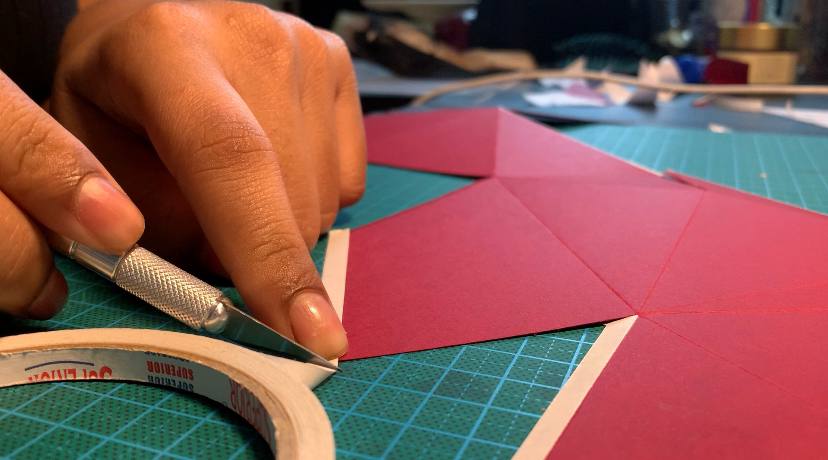
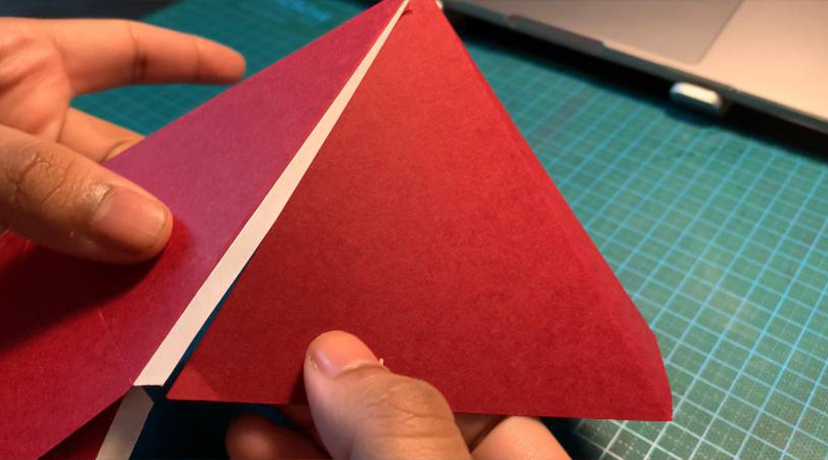
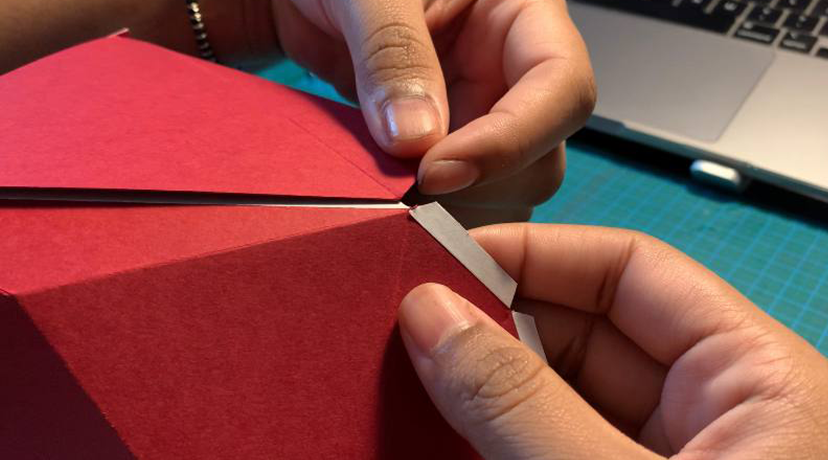
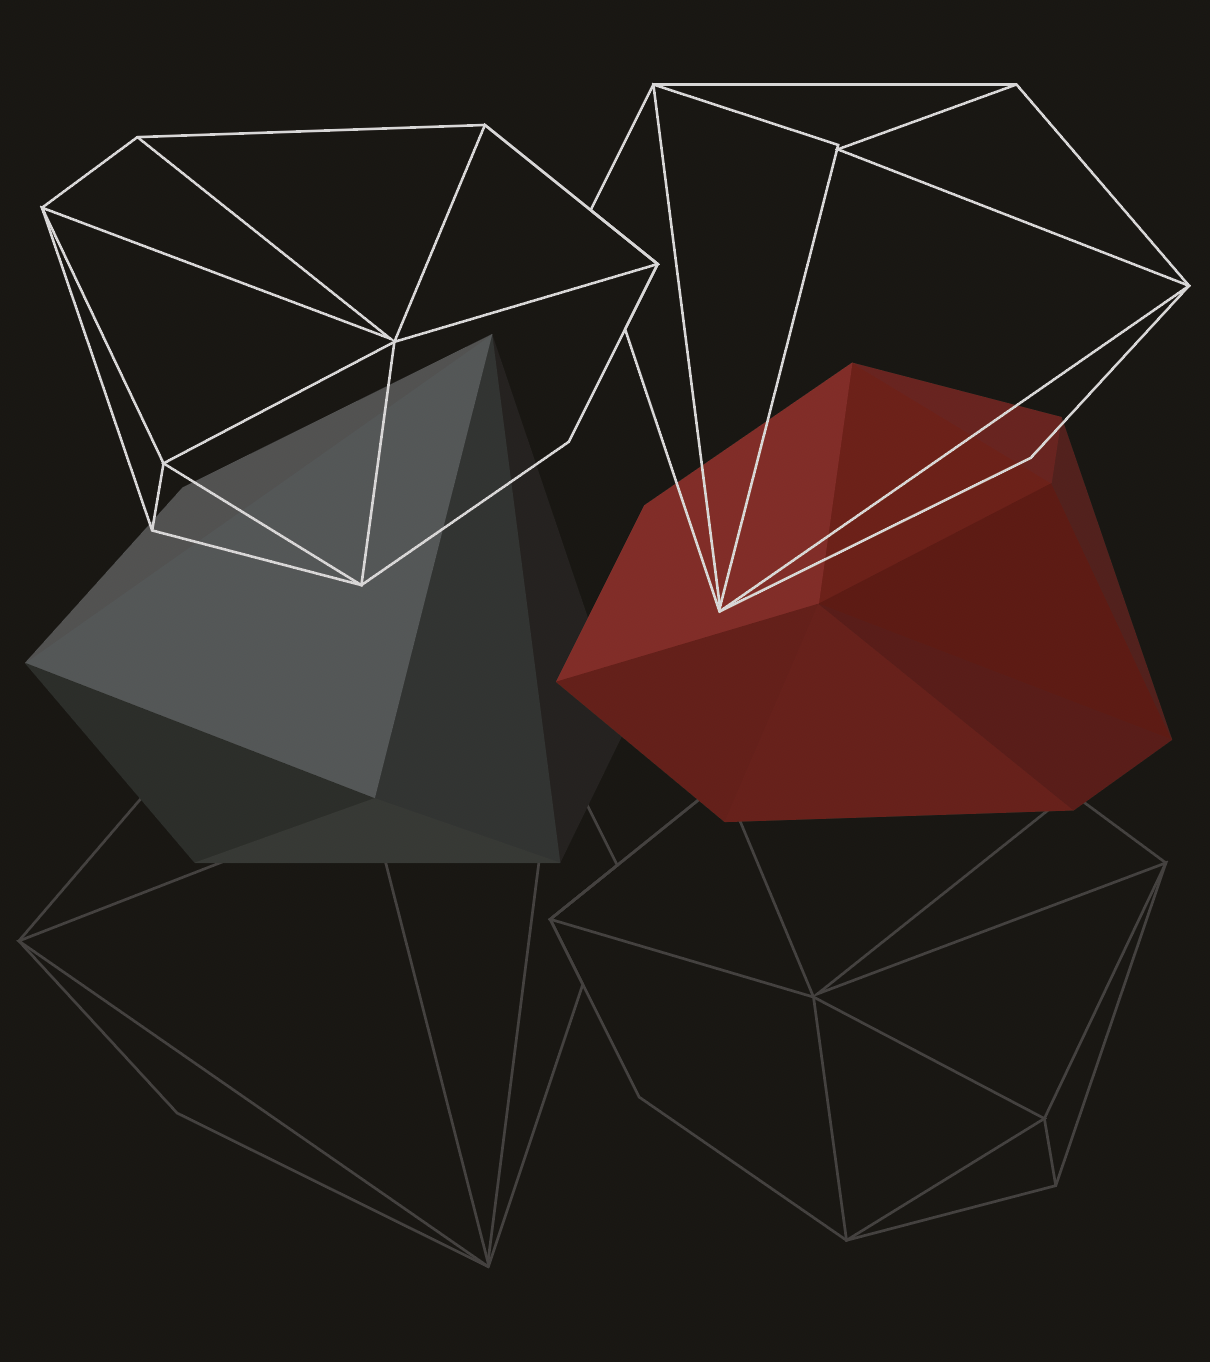
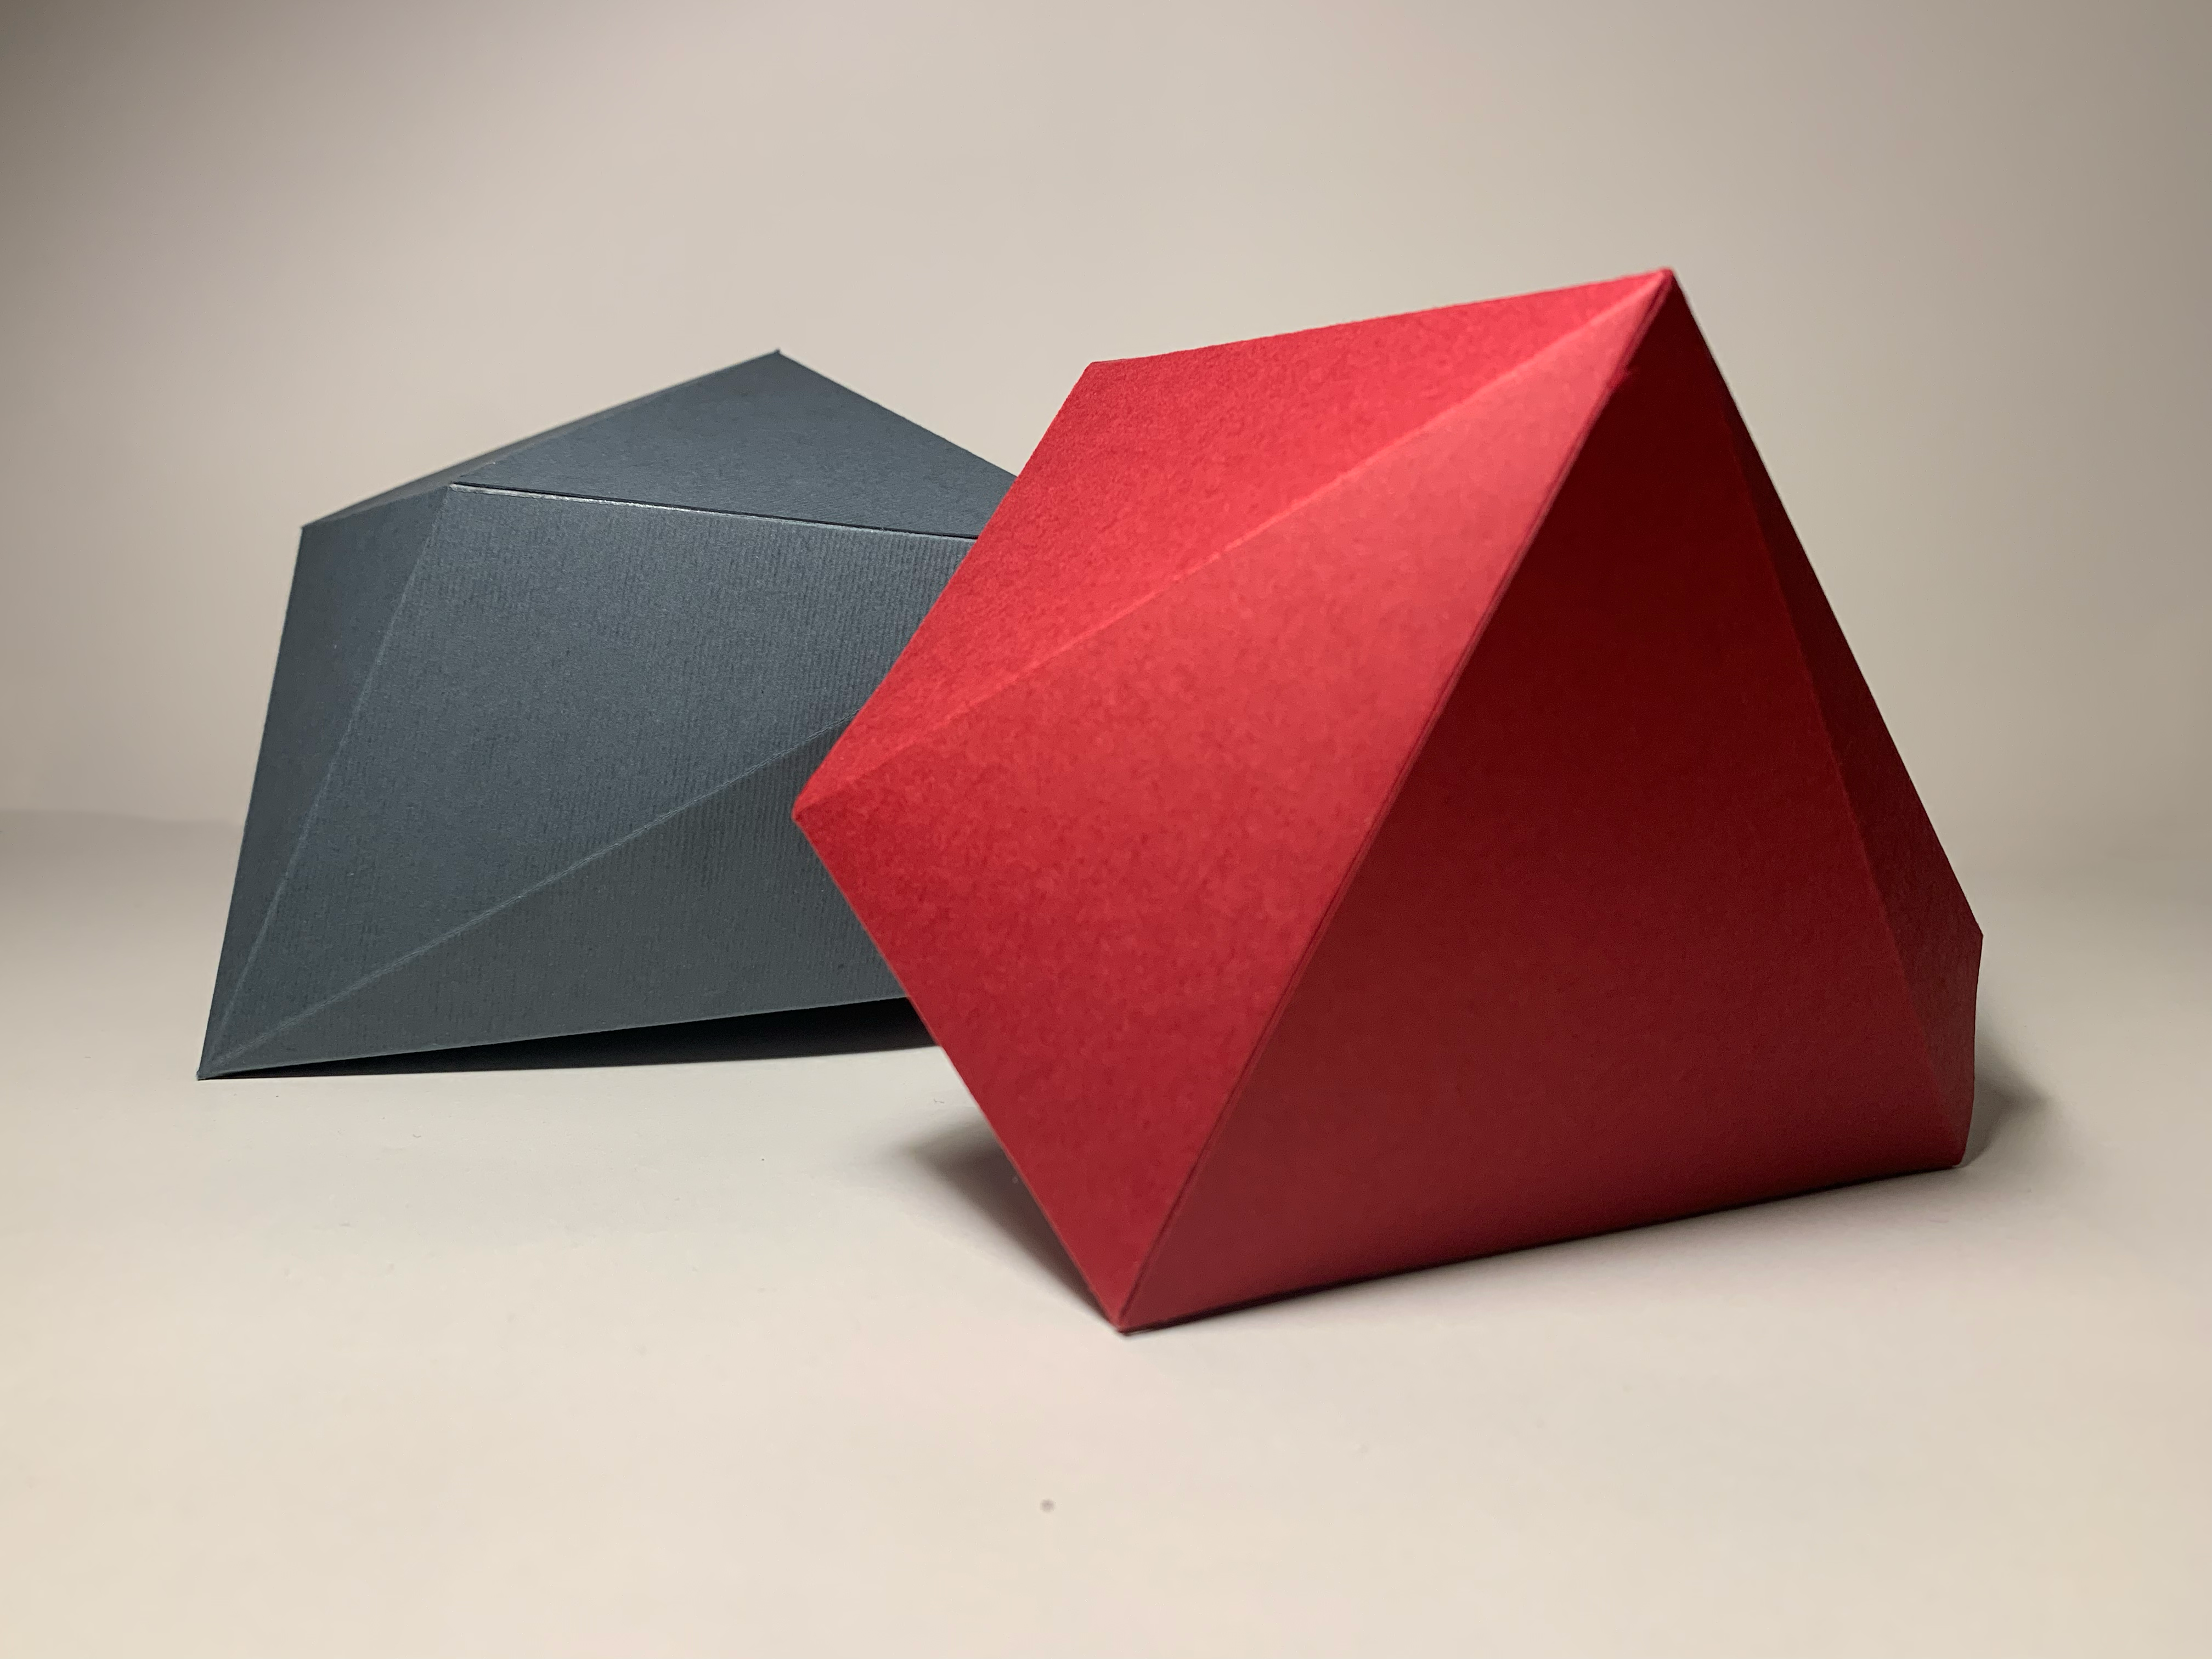
This workshop examined how code can be turned into tangible reality. I used code to create two 3D polygon hulls, and exported them to Blender where I create a flat paper model templates that had cut and crease lines as well as tabs. The templates were used as a base for the construction of the shapes. Each line was carefully cut and each crease closely scored to create sharp edges at every fold.
4 Play
Physical Computing
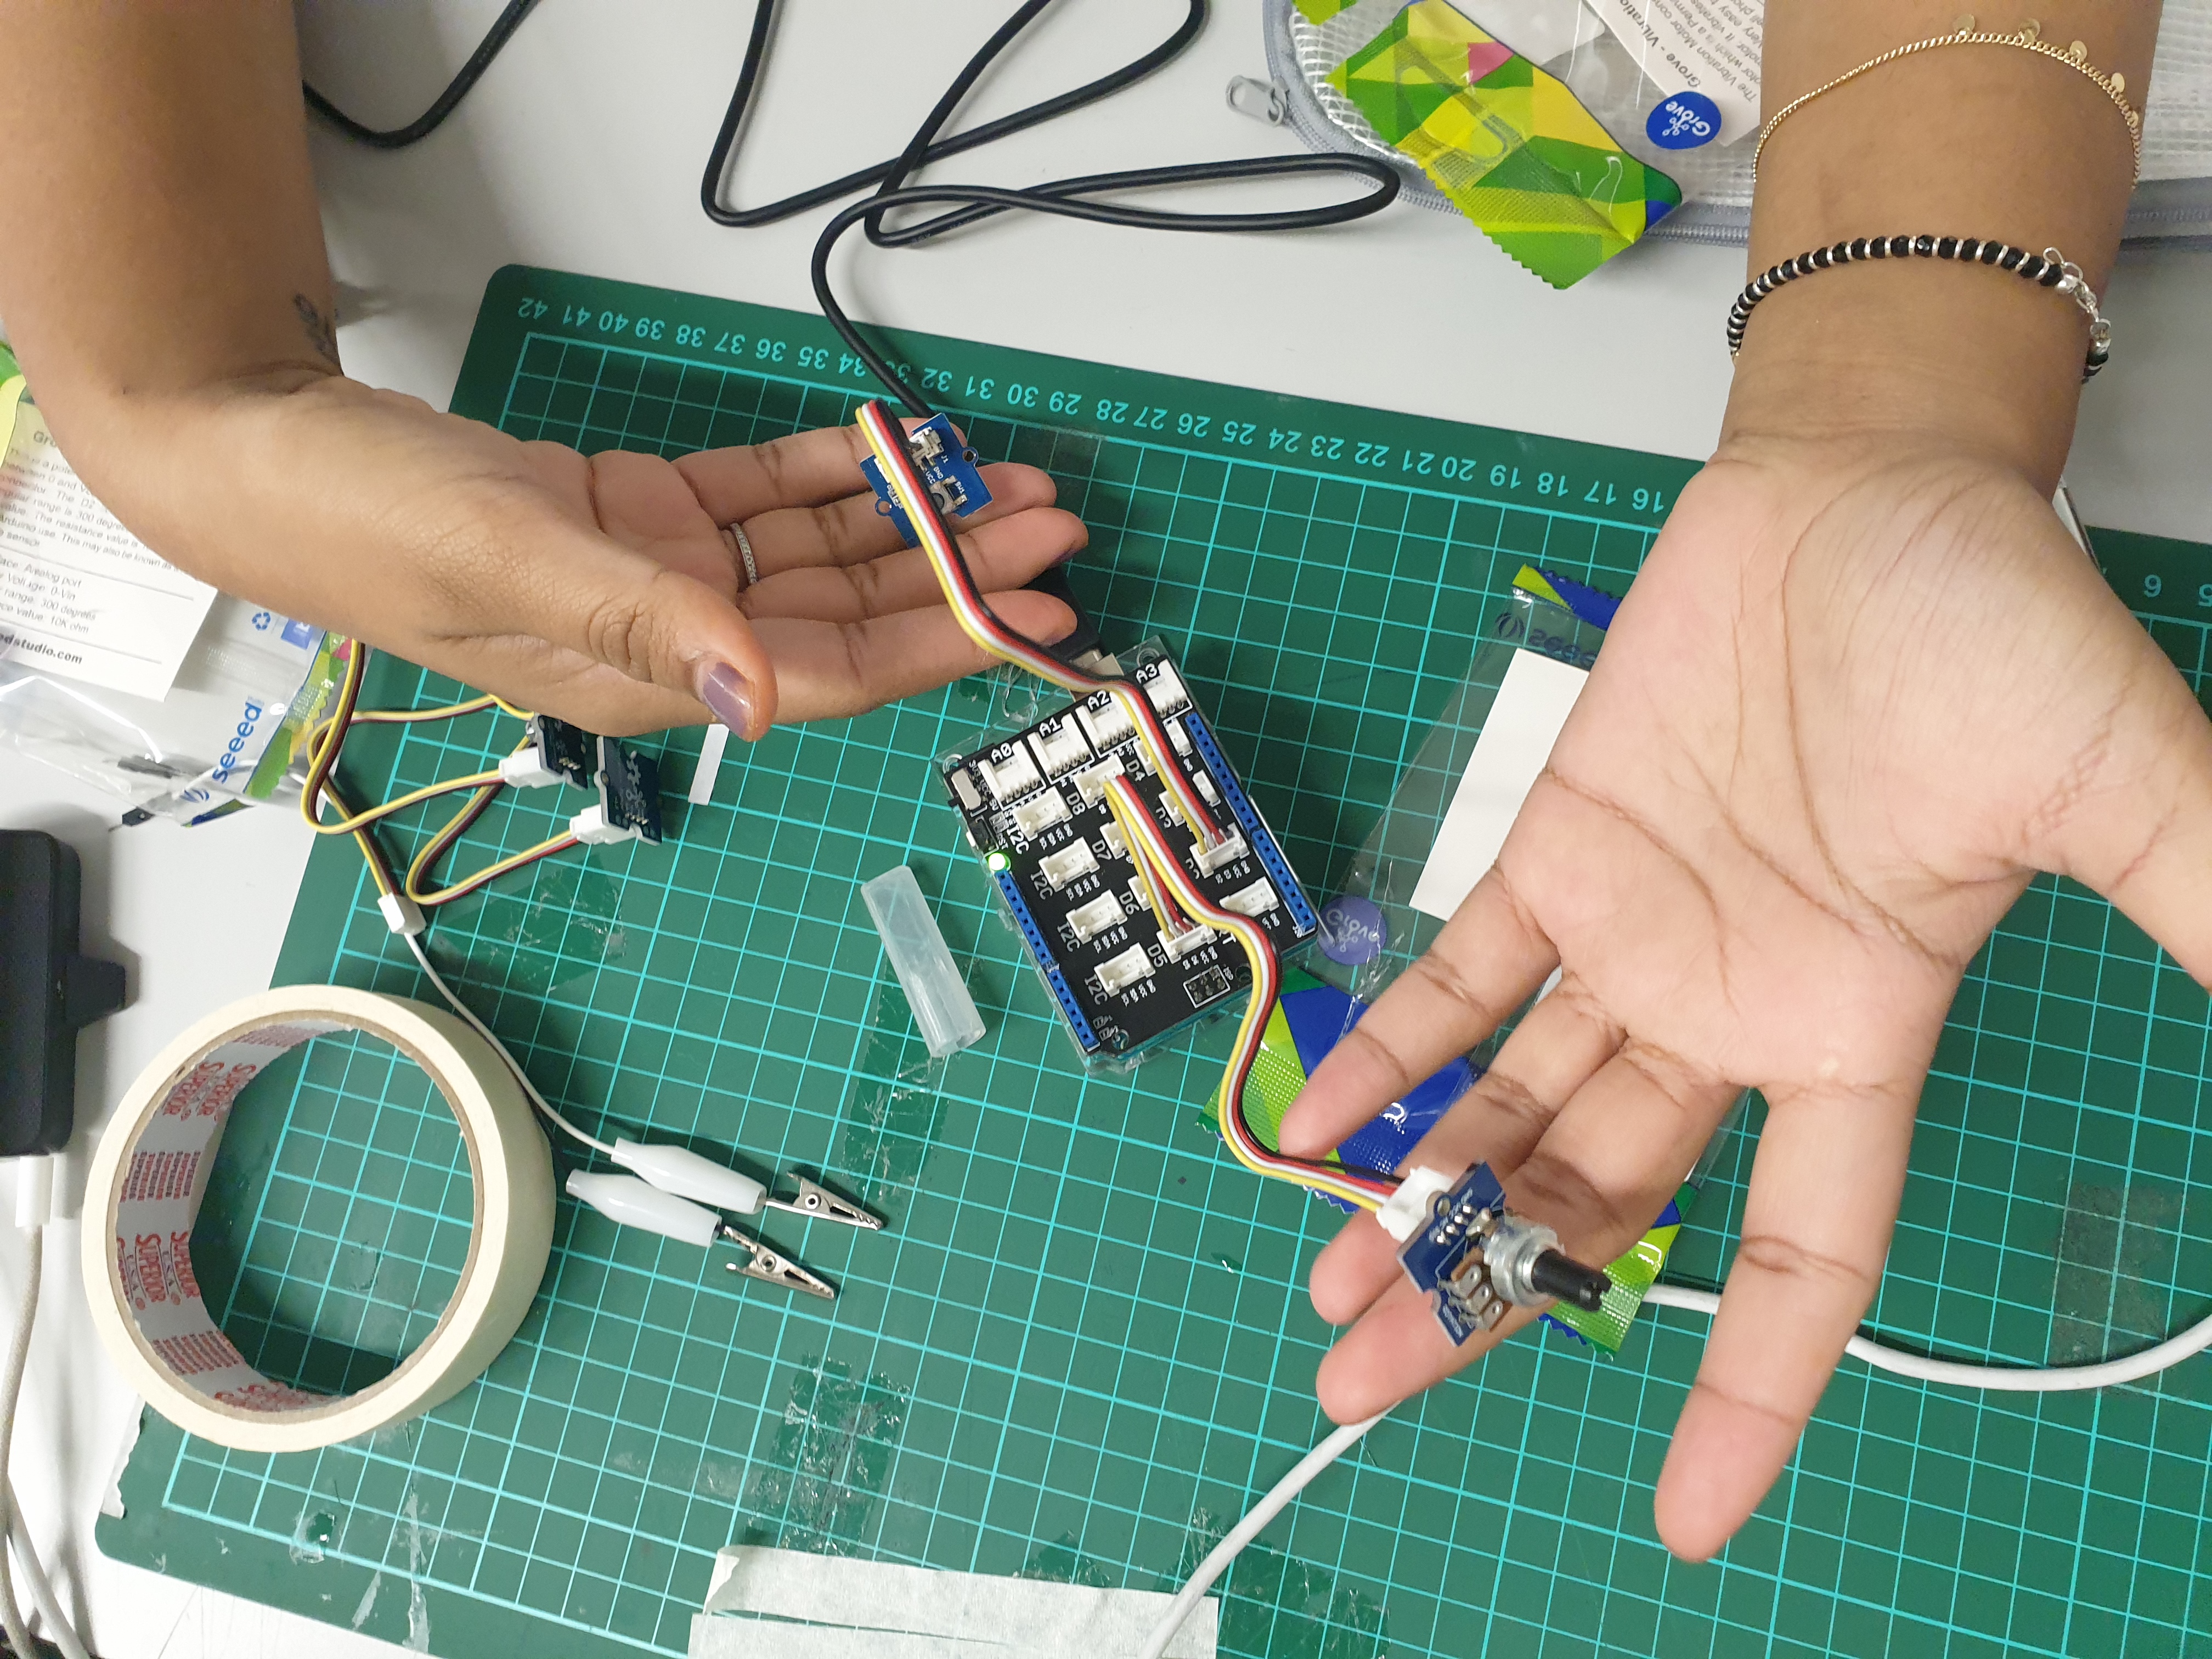
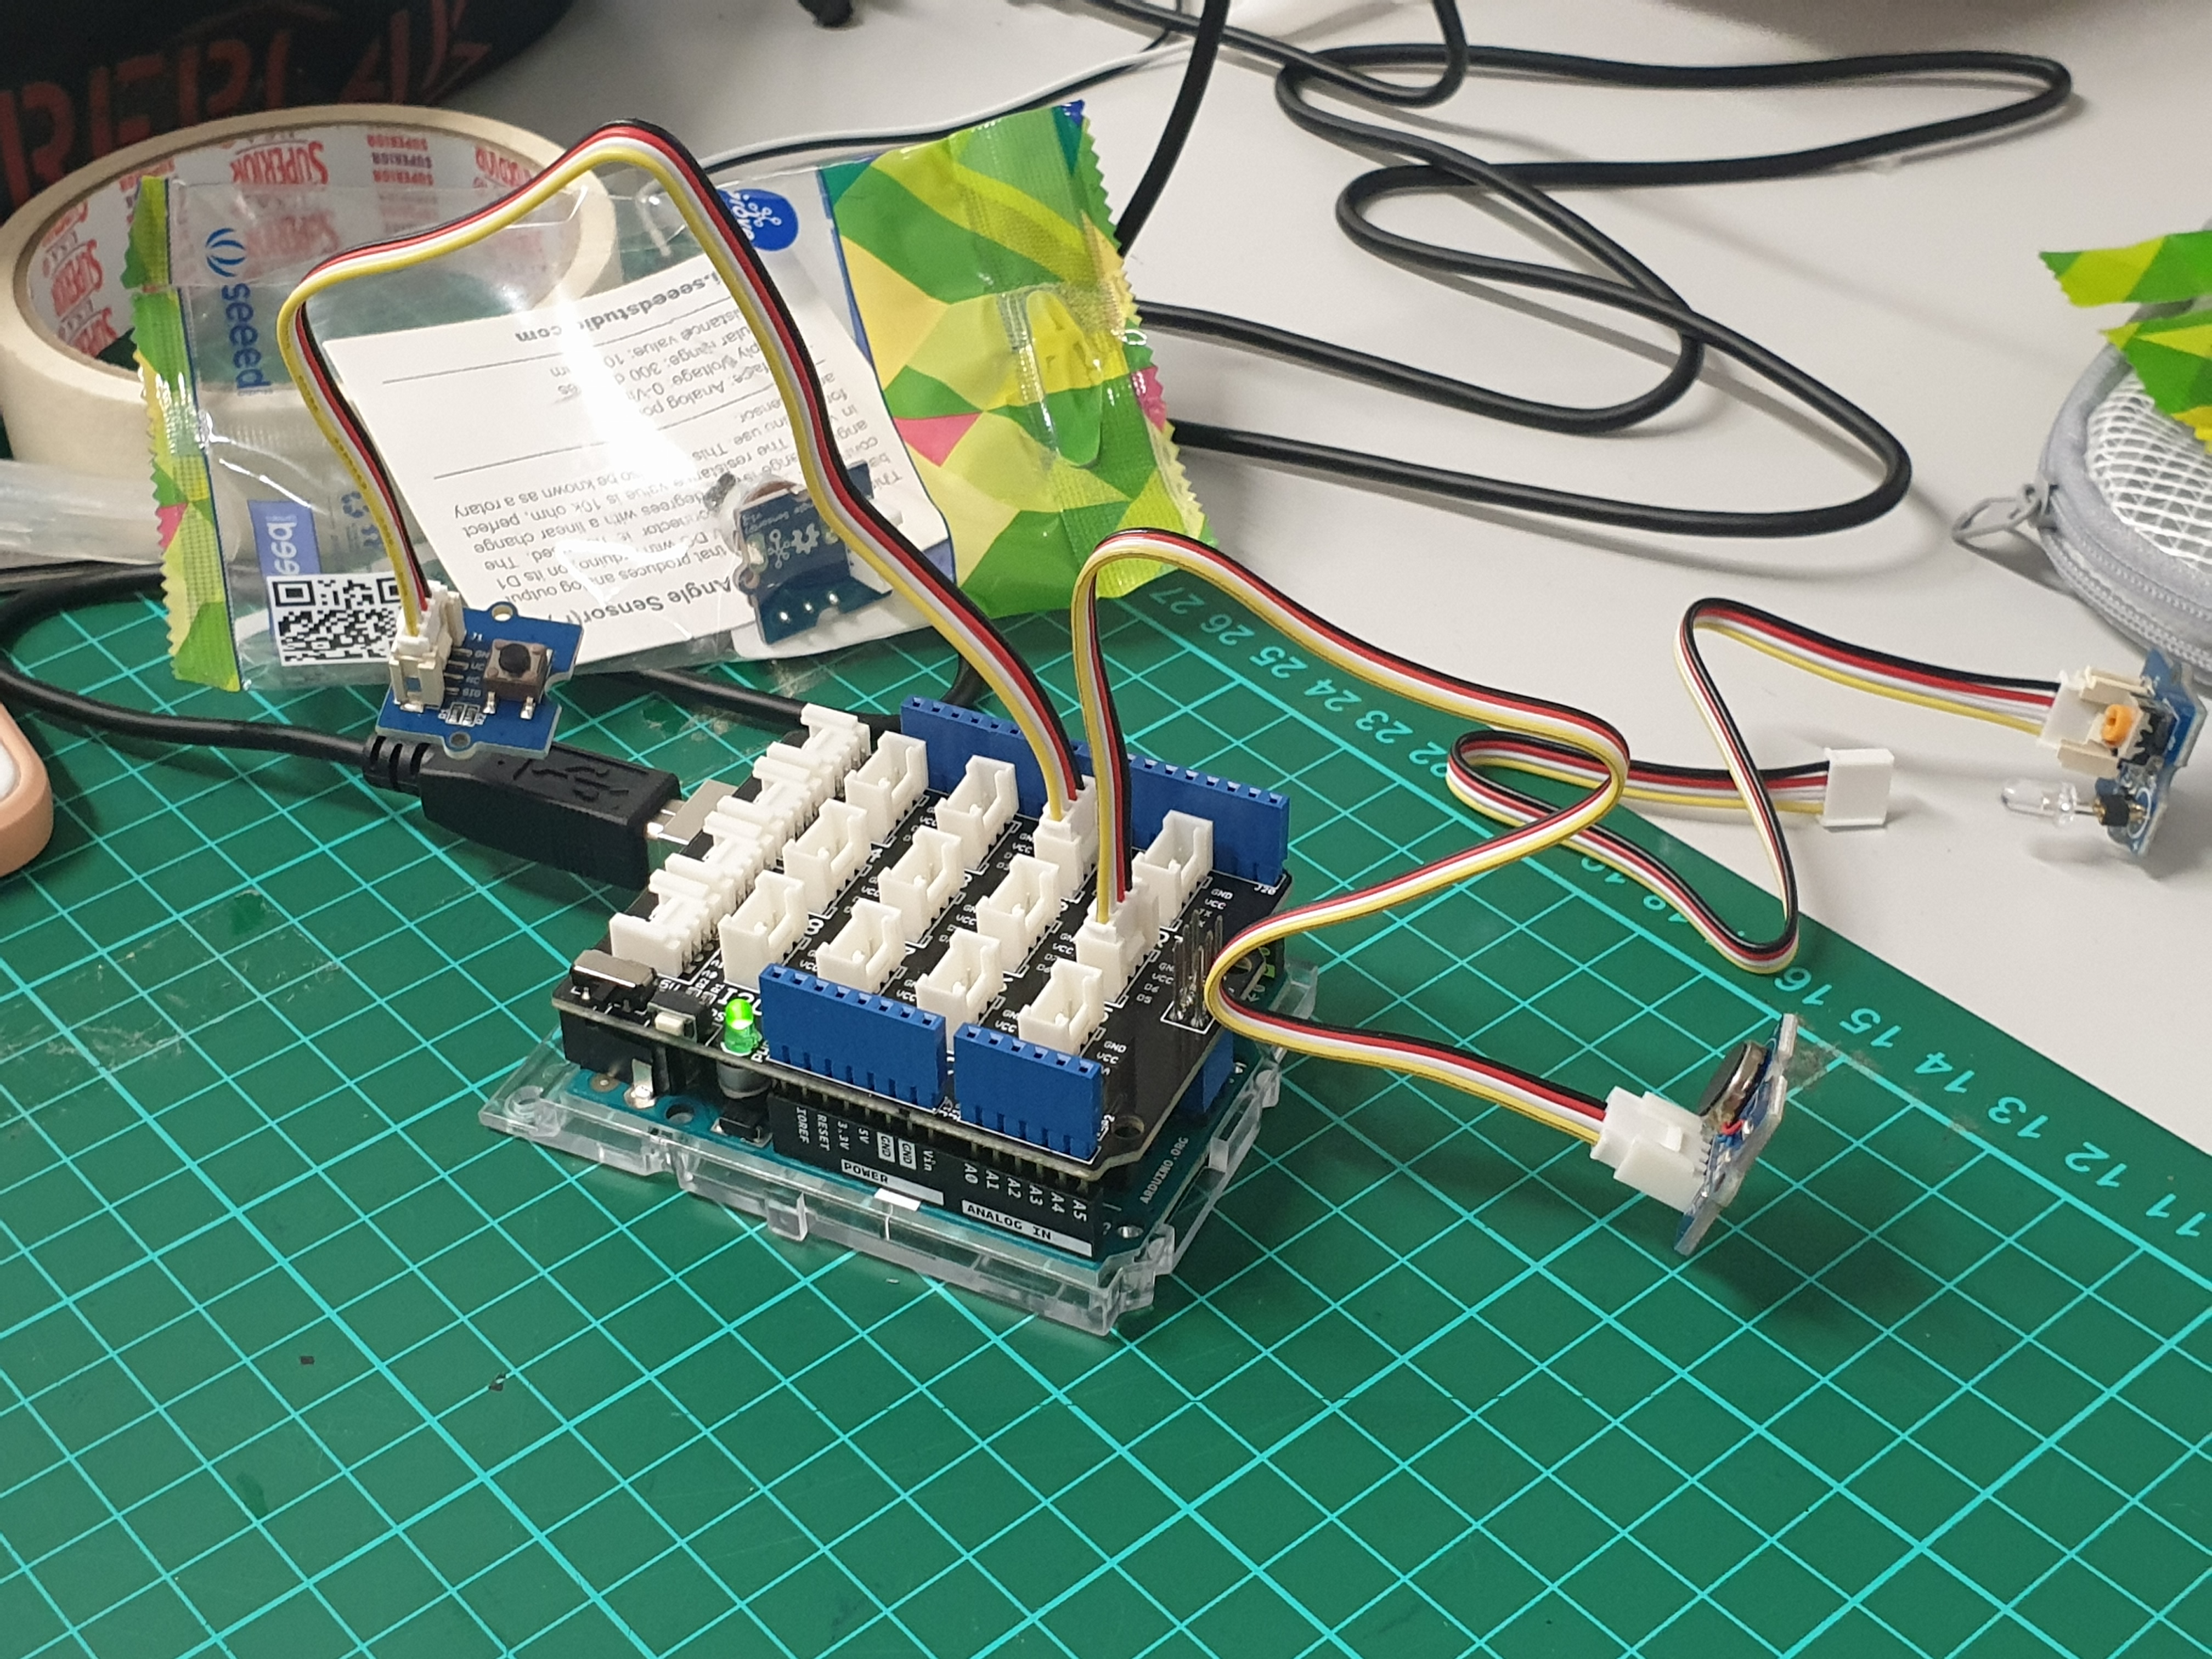
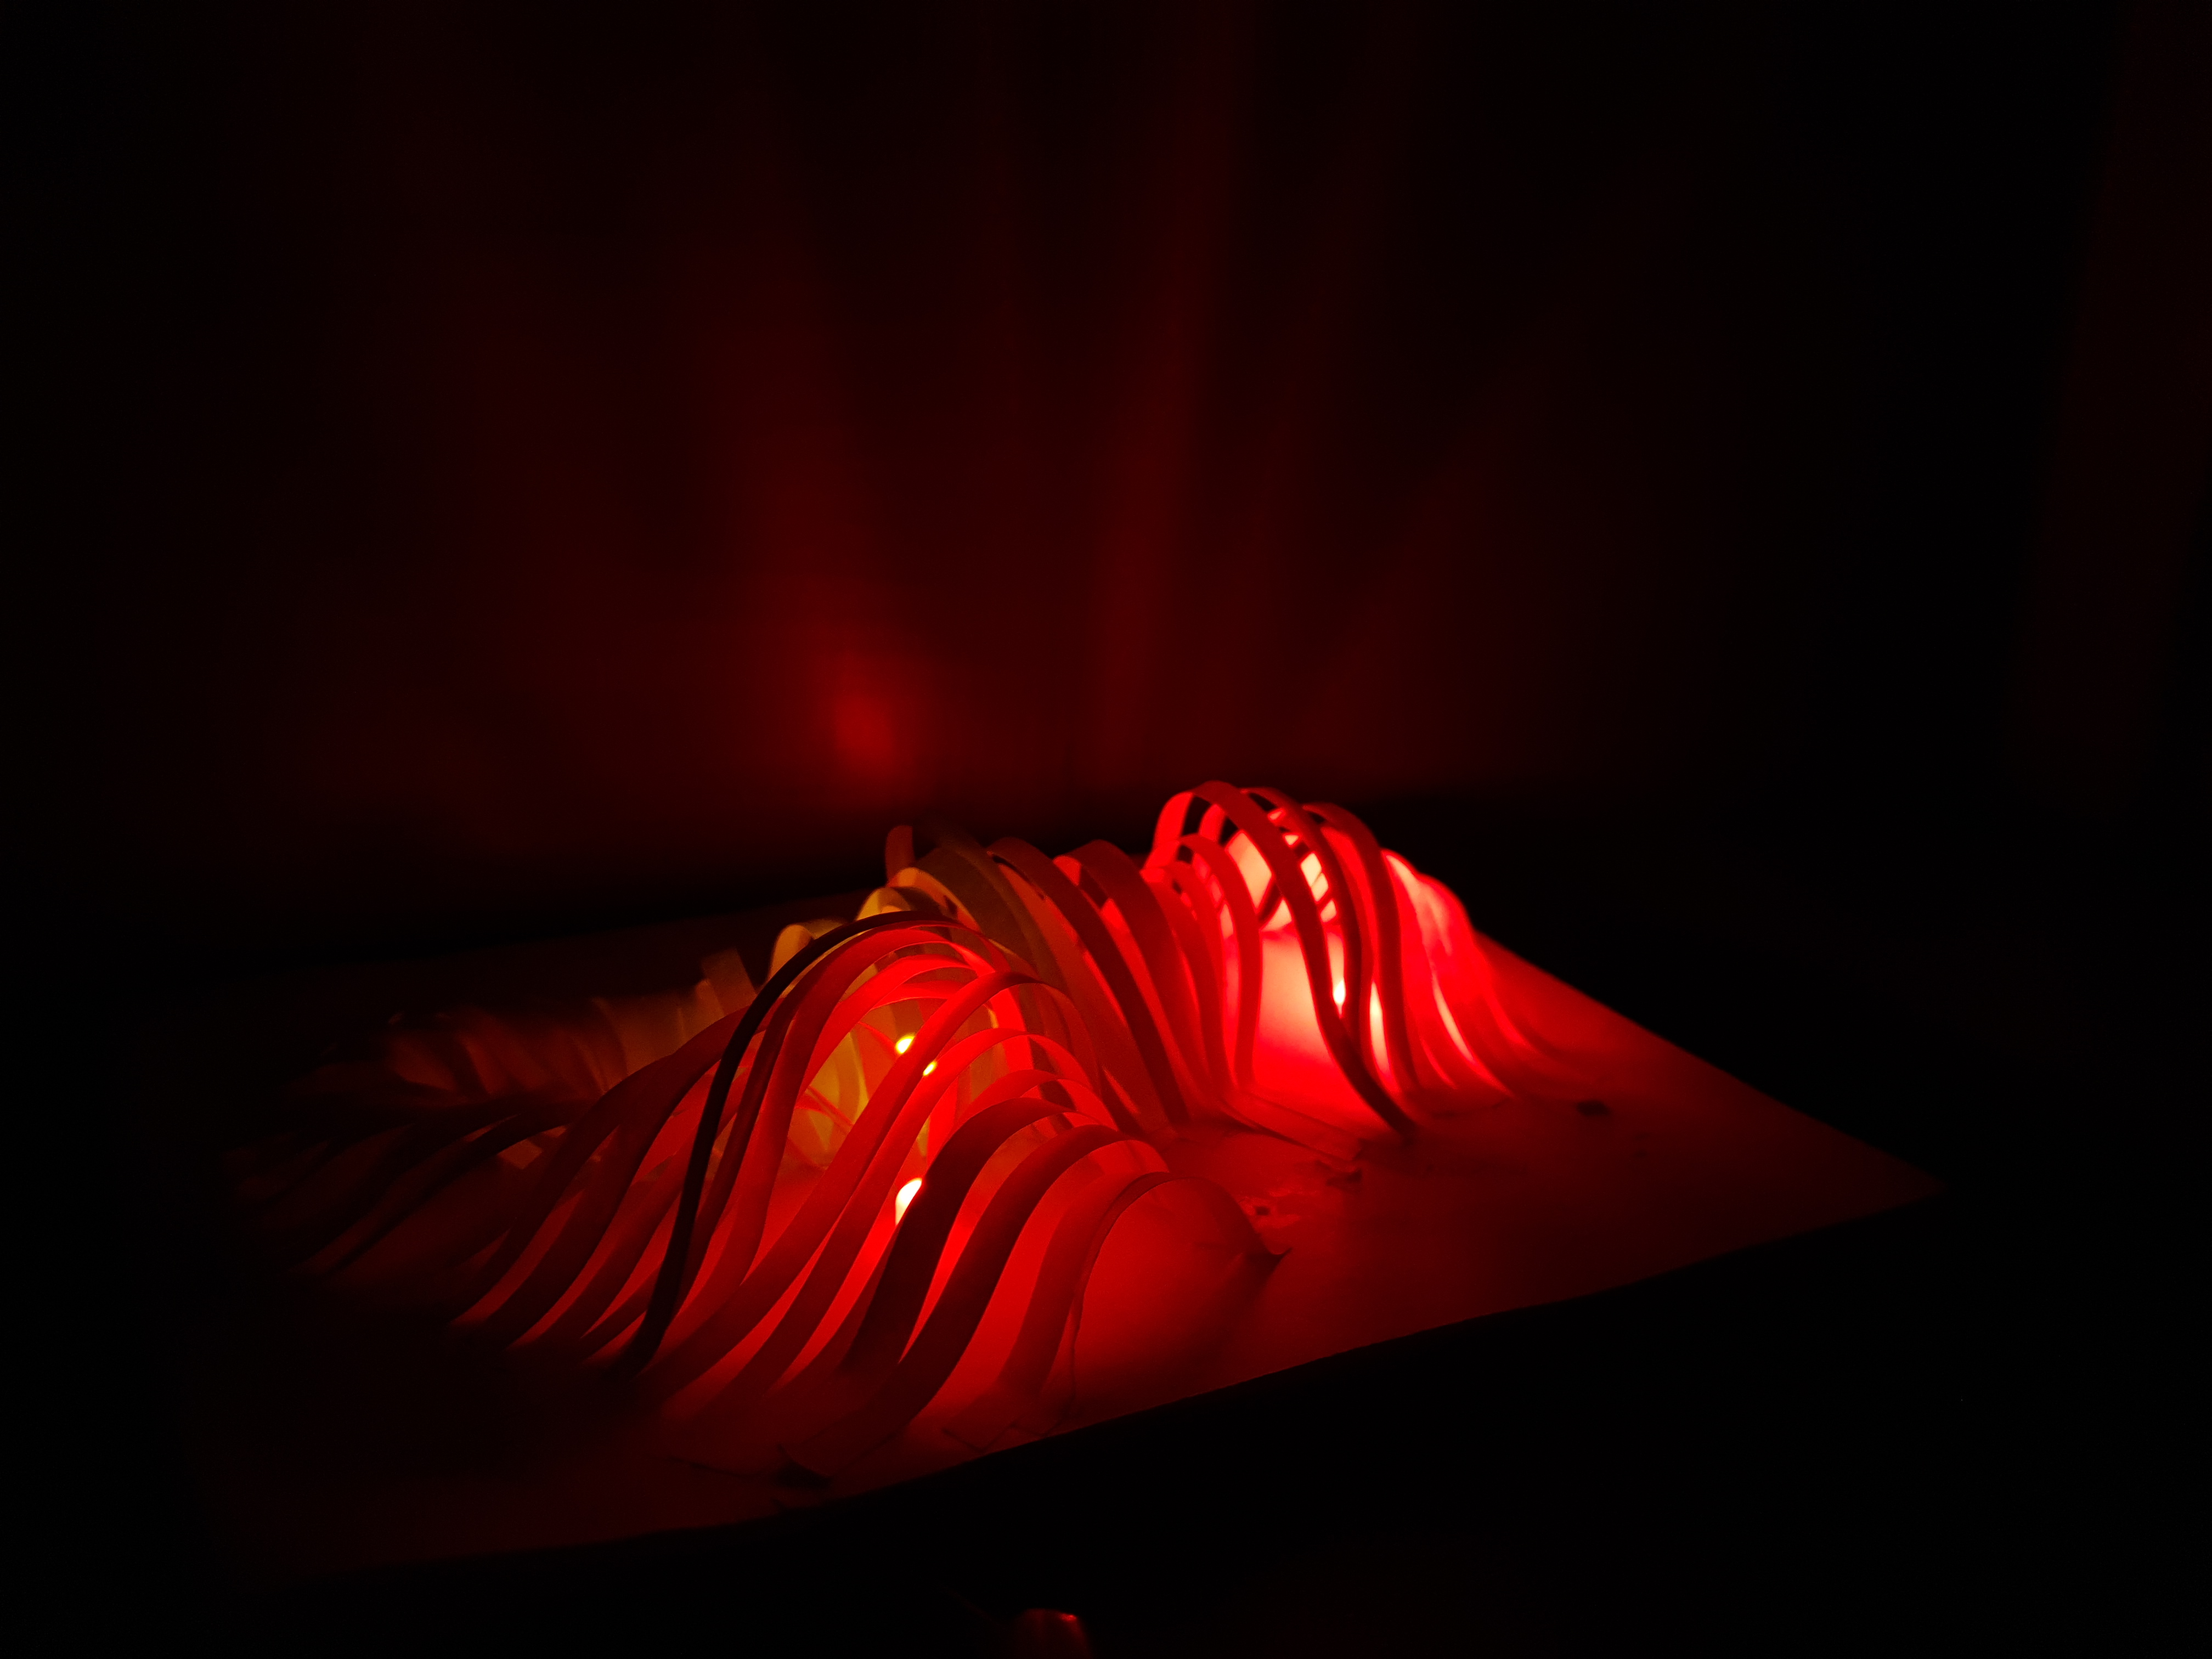
This workshop was split in two parts, the first part focused on creating and connecting an electric circuit with 3 LED light bulbs and a cell as well as creating a paper facade for it, and the second was to connect it to and programme an Arduino board. The board let us create different types of sensors and buttons for the circuit. There were different types of input and output machines, including buttons, rotating switches, and vibrating motors. In the end we used the rotating input switch as it let us have a degree of control over how bright the light is.
We also recorded a short 15 second teaser of a demonstration of the final outcome fit with the Arduino board.
Process
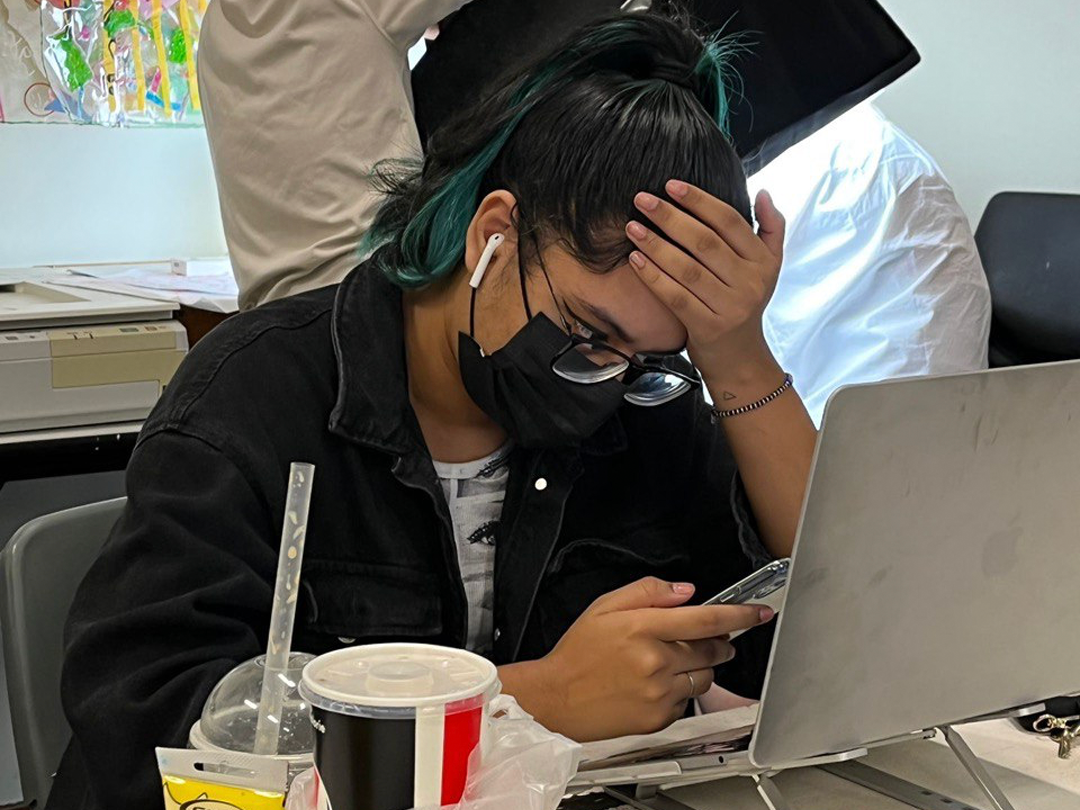
This semester was drastically different from the previous. First, while last semester we did a bunch of in class activities and tutorials, we only had one final project. Second, we worked alone for most of the activities. Both of these factors made things a little easier for us. This semester was challenging - each lecturer held a new workshop every two weeks and every workshop except for Making was a group project. This made good communication and time managament imperative as if we fell behind class it would be really difficult to catch up given the amount of work we had in other classes. I feel like the biggest learning curve for me was learning to work with others, keeping in mind the entire group's strengths and weaknesses.
Design is so simple, that's why it is so complicated.
Paul Rand
